
-
About Us
CMMI Level 5 Certified
Where You Deserve the Positive Outcomes!
Positivity, Purpose, and Perseverance are what make the Protonshub the most sought-after and a leading name in Custom Software Development across the globe. We specialize in Advisory Services, Application Development & Maintenance, Business Process Outsourcing, Enterprise Consulting, End-to-End Technology Services, and Digital Strategy to help make the business world exceptional.


-
Services
Speak with an expert today!
We’d love to resolve your queries with personalized assistance.
Let’s Connect -
Solution


- Industry
- Resources

Aug 29, 2025
Real-World Applications of AI and Blockchain in EnterprisesExplore how AI and blockchain drive innovation in enterprises—enhancing fraud detection, supply chains, healthcare, and cybersecurity.
Read More.png)
Aug 05, 2025
How a Generative AI Development Company Can Help You Build Smarter ProductsDiscover how a Generative AI development company helps build intelligent, scalable products with chatbot development services, automation, and analytics.
Read More
Jul 15, 2025
Chatbot Development Services: What You Need to KnowExplore chatbot development services, types, benefits, and use cases. Learn how custom bots improve engagement, cut costs, and boost efficiency.
Read More
Jul 03, 2025
Understanding Blockchain Development: The Future Backbone of Business TechThis blog explores blockchain development, its key features, business benefits, real-world use cases, challenges, and how to implement it effectively.
Read More.png)
Jun 23, 2025
Enterprise AI Development: A Guide for Business DevelopersExplore how enterprise AI is transforming businesses with key tech stacks, use cases, and strategic insights for business developers and decision-makers.
Read More
Feb 20, 2025
HIPAA Compliant App Development: A Detailed Guide for 2025Learn key steps for HIPAA-compliant app development to ensure secure healthcare solutions. Discover best practices for data security and compliance.
Read More
Feb 18, 2025
How to Create Medical Billing SoftwareGet a step-by-step guide to developing medical billing software. Learn key features, cost, and required tech stack for the development process.
Read More
Feb 12, 2025
How to Make an App like AstrotalkWant to create an astrology app like AstroTalk? Learn about key features, development costs, future trends, development process, and more.
Read More.png)
Feb 05, 2025
How Biometrics Make Payments Easy and SafeLearn how biometrics are changing payment systems by offering a safer and convenient way to complete transactions. Contact us for more information.
Read More
Jan 31, 2025
14 E-commerce Customer Retention Strategies That WorkIs your e-commerce business struggling with customer retention? Try these 14 effective strategies that can transform your approach!
Read More
Jan 27, 2025
11 Essential Features Every Successful E-commerce Website Must HaveIncrease your e-commerce potential. Learn about the 11 crucial features that every successful online store should include for optimal performance.
Read More
Jan 24, 2025
Healthcare CRM: What You Need to Know About Costs, Features, and BenefitsAre you curious to learn about Healthcare CRM? If yes, read this blog to know the costs, features, and more that can help your healthcare practice grow.
Read More
Jan 21, 2025
AI in Energy Management Systems: Driving Operational EfficiencyRead this blog to learn how AI technologies are optimizing energy management systems to improve operational efficiency and cut costs.
Read More
Jan 18, 2025
Your Guide to Designing a Renewable Energy WebsiteLearn how to create an effective renewable energy website with easy tips on design, content, and user engagement.
Read More
Jan 14, 2025
Website Migration Guide: Pre and Post-ChecklistGet ready for a seamless website migration. Follow our pre and post-checklist to ensure everything runs smoothly before and after the move.
Read More
Jan 09, 2025
Application Management Services: A Simple GuideLearn the basics of Application Management Services and how they can improve your IT processes. A simple guide for better application management.
Read More
Jan 06, 2025
Guide to EHR Systems: Features, Benefits, and PricingDiscover everything you need to know about EHR systems. This guide covers key features, benefits for healthcare providers, and pricing options.
Read More
Jan 01, 2025
How to Build a DeFi App in 2025: A Complete GuideReady to create a DeFi app? Our complete guide for 2025 covers everything from key features, development steps, and challenges to help you create a successful DeFi app.
Read More.jpg)
Dec 25, 2024
How to Set Up an Effective Dropshipping Business on Shopify in 2025Ready to start your dropshipping journey? This guide covers everything you need to know about launching a profitable dropshipping Shopify store.
Read More
Dec 18, 2024
Why You Should Hire a Dedicated Remote Developer in 2025Explore the top 9 reasons to hire dedicated remote developers in 2025, from cost savings to niche expertise and clear communication.
Read More
Dec 11, 2024
End-to-End E-commerce Solutions: Why It’s Crucial for Your Business GrowthRead this blog to find out why complete e-commerce solutions are important for your business growth and how they can help you improve your operations.
Read More
Dec 04, 2024
Choosing the Right Technology Stack for Your E-commerce BusinessWant to build a successful e-commerce site? This blog will help you understand how to choose the perfect tech stack for your business!
Read More
Nov 28, 2024
Step-by-Step Guide to Developing a Multiplayer Poker App Like A3 PokerLearn how to develop a multiplayer poker app like A3 Poker with our easy step-by-step guide. Build your app today and engage players worldwide!
Read More
Nov 21, 2024
How to Develop an App Like UEFA GamingLearn how to build an app similar to UEFA Gaming! Discover essential tips and tricks to bring your gaming ideas to life. Contact us to know more.
Read More
Nov 13, 2024
The Role of AI in Quick Commerce App Development for Personalized User ExperienceLearn how AI is transforming Q-commerce app development to create a more personalized shopping experience for users. Contact us to know more.
Read More
Nov 06, 2024
Why Quick Commerce App Development is Essential for Retail Businesses TodayThinking about app development? Find out how Q-commerce can transform your retail business by speeding up deliveries. Contact us for more details.
Read More
Oct 30, 2024
Top Features to Include in a Quick Commerce App for Maximum User EngagementFind out the best features to include in your quick commerce app. Make shopping fun and keep users coming back for more! Contact us for more details.
Read More
Oct 24, 2024
How to Build an App Like GrabReady to build a unique food delivery app? Learn how to create a Grab-like app with essential features and expert services. Contact us today.
Read More
Oct 17, 2024
Chatbot vs. Live Support: Which Is Better for Your Business?Explore the differences between chatbots and live support to determine which solution best fits your business needs. Discover the pros, cons, and more.
Read More
Oct 10, 2024
Why Every Business Needs a Custom Chatbot: A Comprehensive GuideBoost your business with a custom chatbot designed for your unique needs. Explore the benefits that drive customer satisfaction and growth.
Read More
Oct 03, 2024
How to Develop an App Like GEICODiscover essential steps and features to develop a successful insurance app like GEICO. Learn about user experience and innovative functionalities.
Read More.jpg)
Sep 26, 2024
Top 10 Use Cases of AI-Powered Chatbots in HealthcareLearn about the top 10 use cases of AI chatbots that enhance patient satisfaction, reduce wait times, and optimize healthcare services.
Read More
Sep 19, 2024
How Custom Chatbots are Revolutionizing Patient Care in the Healthcare IndustryUncover the power of custom chatbots in healthcare. From appointment scheduling to symptom assessment, see how they enhance patient experiences and care.
Read More
Sep 13, 2024
How to Develop a Food Delivery App Like ZeptoUncover the secrets to building a successful grocery delivery app like Zepto, including must-have features and steps for quick commerce.
Read More
Sep 09, 2024
How to Develop a Food Delivery App Like SkipTheDishesDiscover the essential steps to develop a food delivery app like SkipTheDishes. Learn about key features and steps to ensure your app stands out.
Read More
Sep 03, 2024
Building a WordPress E-commerce Store: A Complete GuideTransform your WordPress site into a thriving e-commerce store! Follow our complete guide for expert tips on setup, customization, and boosting sales.
Read More
Aug 30, 2024
How to Optimize WordPress Website for Performance and SpeedIs your WordPress site slow? Find out how to optimize performance and speed with our comprehensive guide on best practices and tips.
Read More
Aug 26, 2024
How to Develop a Mobile App Like ZalandoDiscover how to develop a successful mobile app like Zalando. Learn essential strategies, features, and steps to bring your fashion app idea to life!
Read More.jpg)
Aug 19, 2024
Shopify vs. WooCommerce: Which Platform is Right for Your Business?Explore the pros and cons of Shopify and WooCommerce. Make an informed decision to elevate your e-commerce strategy and maximize profits.
Read More.jpg)
Aug 12, 2024
How to Set Up Your Shopify Store: A Step-by-Step GuideReady to start your online business? This guide walks you through every step of setting up your Shopify store, from design to launch. Start selling today!
Read More
Aug 06, 2024
Optimizing Your Shopify Store for SEO: Best PracticesElevate your Shopify store's search engine rankings with these SEO best practices. Discover tips on canonical tags, site speed, and more to drive traffic.
Read More.jpg)
Jul 31, 2024
How to Build an NFT Marketplace Like OpenSeaLearn how to create an NFT marketplace similar to OpenSea. Discover essential features, technologies, and strategies to launch your platform successfully.
Read More
Jul 26, 2024
How to Build a Hotel Booking App Like OYOWant to build a hotel booking app like OYO? This guide covers everything from market overview and features to strategies for a successful app.
Read More.png)
Jul 23, 2024
How to Build a Restaurant Booking App Like OpenTableLearn how to create an OpenTable clone app that streamlines reservations and dining experiences. Discover key features, strategies, and more.
Read More
Jul 16, 2024
How to Build an App Like NetmedsUnlock the secrets to developing a Netmeds clone app. Explore the must-have features, costs, market stats, revenue models, and more.
Read More
Jul 12, 2024
How to Build an App Like SheinWhether you're a startup or an established business, our guide will walk you through the process of creating an e-commerce app similar to Shein.
Read More
Jul 08, 2024
Blockchain Development Guide: Everything You Need to Know in 2024Explore the latest trends shaping blockchain development in 2024. This guide covers everything you need to know to stay ahead in this evolving field.
Read More
Jul 03, 2024
How Blockchain Technology Can Revolutionize the Fintech IndustryGet ready to discover how blockchain is transforming the fintech industry by increasing security, reducing costs, and enabling faster transactions.
Read More
Jun 28, 2024
Understanding Generative AI: Can it Create the Next Killer Mobile App?Dive into the world of generative AI and discover how it can be leveraged to create innovative, user-centric mobile apps that redefine the industry.
Read More
Jun 24, 2024
Leveraging AI and Machine Learning for Enhanced Stock Insights in Your AppLearn the right way to harness the power of AI and ML to transform your app's stock analysis features, providing users with a competitive edge.
Read More
Jun 19, 2024
Real-Time Data Integration: Challenges and Solutions for Stock Market AppsLearn how to overcome data integration challenges in stock market apps by using real-time data integration solutions for a better user experience.
Read More
Jun 14, 2024
How to Build a Crypto Exchange Platform Like BinanceDevelop a crypto exchange platform similar to Binance with this detailed guide. Learn about the key features, advanced features, cost, steps, and more.
Read More
Jun 10, 2024
How to Build an App Like RobinhoodFrom key features, steps, and costs to the best monetization strategies, learn everything about building an app like Robinhood.
Read More
Jun 05, 2024
How to Develop a Food Delivery App Like MenulogLearn how to create a food delivery app like Menulog. This guide covers the key features, steps, challenges, and costs of developing a Menulog-clone app.
Read More
Jun 03, 2024
How to Build a Shopping App Like Costco?Are you interested in building a shopping app like Costco? This guide discusses the steps, key features, costs, and more to develop an app like Costco.
Read More
May 29, 2024
Why Hire Dedicated Developers Instead of Freelancers?Unlike freelancers, dedicated developers prefer quality over quantity and increase efficiency. This is not it. Read this blog to learn more about the benefits.
Read More
May 24, 2024
How Much Does It Cost to Hire a Software Developer in India?Want to hire a software developer in India but don’t know how much it will cost? Read this guide to learn everything to make an informed decision.
Read More
May 20, 2024
How to Make an Online Shopping App Like AmazonWant to create an online shopping app like Amazon? Read this guide that covers everything you need to know, from features to best practices.
Read More
May 14, 2024
How to Develop an App Like GrowwAre you planning to develop a stock trading app like Groww? Read this blog where we have discussed everything from steps to monetization strategies.
Read More
May 10, 2024
The Ultimate Guide to Building a Job Portal in 2025Struggling to develop a job portal in 2024? Not anymore! Read this comprehensive guide to gain insights into creating a successful job portal on budget.
Read More
May 07, 2024
How to Develop an App Like DoorDashThis blog discusses the steps involved in creating a successful app like Doordash, from market research to post-launch support. Read now.
Read More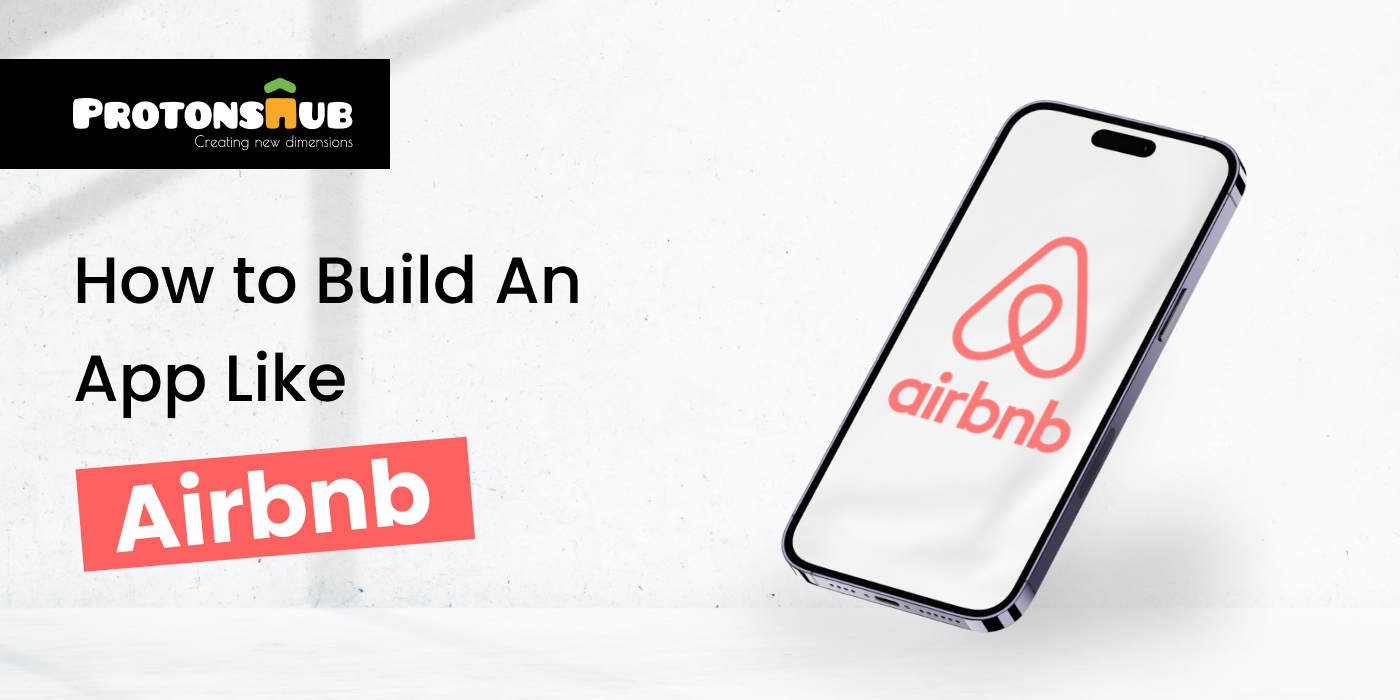
May 03, 2024
How to Build An App Like AirbnbLearn everything about building a robust vocational rental app like Airbnb, from steps and cost to features in this detailed guide.
Read More
Apr 29, 2024
How AI is Transforming Electric Vehicles: Benefits and ChallengesWith AI evolving, you can expect to see these transformations in the EV sector such as smart charging stations, route optimization, and more.
Read More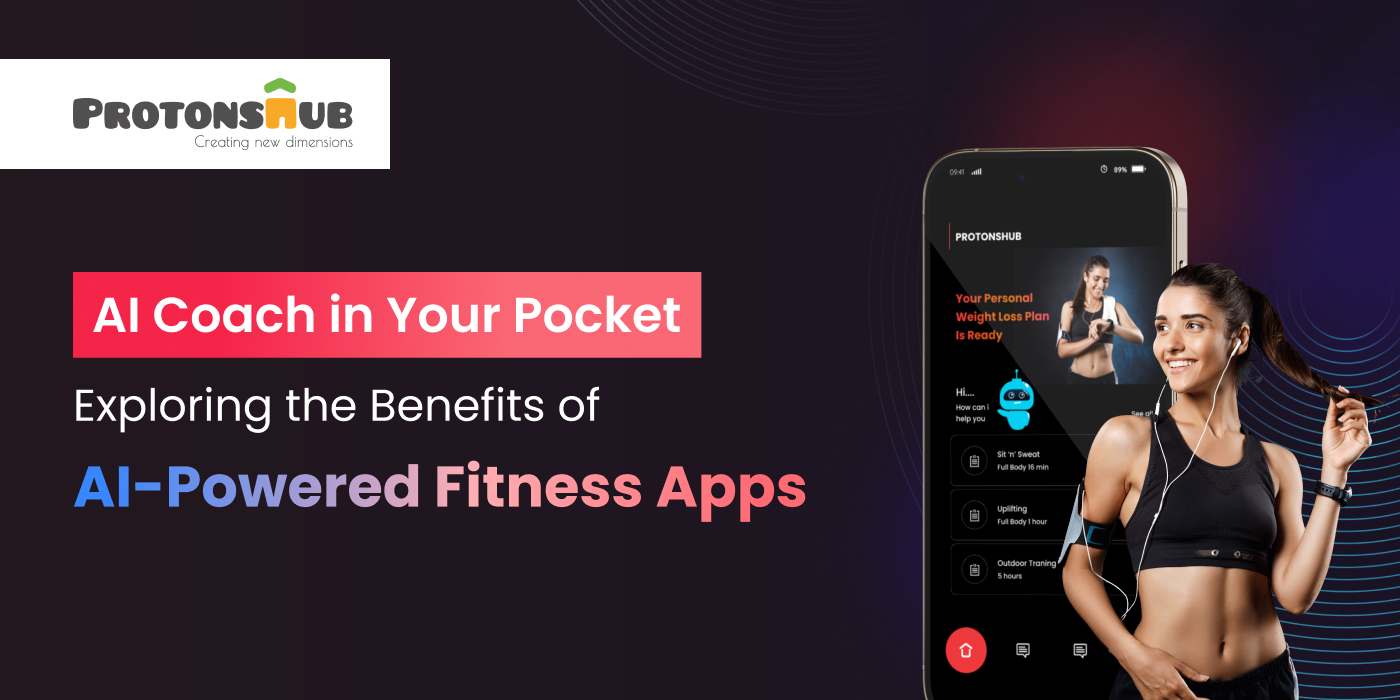
Apr 25, 2024
AI Coach in Your Pocket: Exploring the Benefits of AI-Powered Fitness AppsDo you want to know the benefits of AI-powered fitness apps or how developers can overcome AI-fitness app development challenges? Read this blog.
Read More
Apr 18, 2024
The Future of Fitness: How AI is Revolutionizing Workout AppsRead this blog to learn how to build a fitness app, the compliance involved in building fitness apps, the cost to build a fitness app, and more.
Read More
Apr 15, 2024
How to Make an App Like Snapchat: Expert Guide and Tips [2024]On average, the cost varies between $40,000 and $300,000. But factors like the app’s complexity, UI/UX design, and more affect the cost.
Read More
Apr 12, 2024
How to Build AI-Powered Apps in 2024: A Step-By-Step GuideFollow these 6 steps to successfully build AI-powered apps. Also, check the cost of development and use cases of AI-powered apps.
Read More.jpg)
Apr 10, 2024
Chatbots in E-commerce: Benefits + Use Cases ExplainedRead this blog to understand the basics of chatbots in e-commerce, their benefits, challenges during integration, use cases, and future trends.
Read More
Apr 08, 2024
Safeguarding Your E-commerce Site: Tips and Strategies for SecurityWe have discussed common attacks on e-commerce websites and essential tips to improve their security. Read the full blog to bulletproof your website.
Read More
Apr 02, 2024
E-commerce Personalization: How to Tailor the Shopping Experience for Every CustomerE-commerce personalization impacts 90% of customers. So, follow these e-commerce personalization strategies for engaging customer experience.
Read More
Mar 26, 2024
The Ultimate Guide to Optimizing Your E-commerce Website for Search EnginesThis ultimate guide discusses ways to optimize e-commerce site through 6 impactful best practices. Follow these tips to have a well-optimized website.
Read More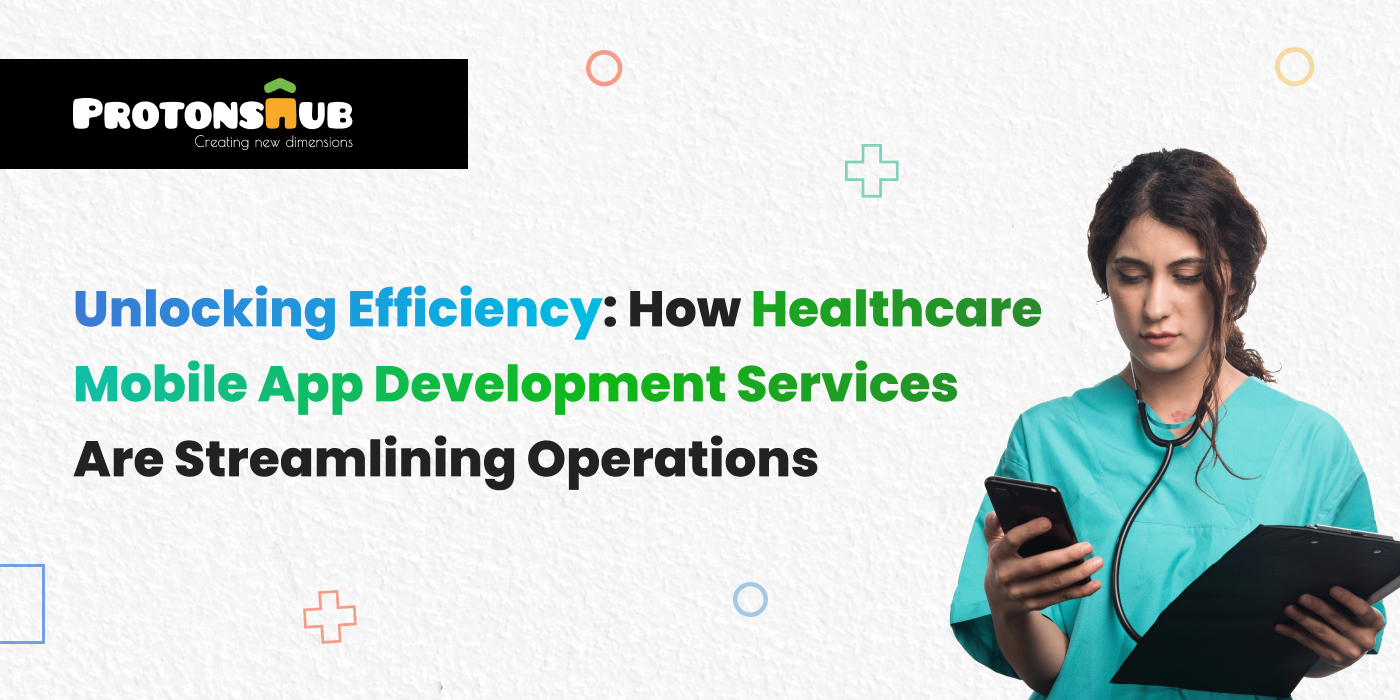
Mar 19, 2024
Unlocking Efficiency: How Healthcare Mobile App Development Services Are Streamlining OperationsWant to know how healthcare mobile app development services are streamlining operations? Read this detailed blog to gain a complete understanding.
Read More
Mar 14, 2024
Clutch Names Protonshub Technologies as one of the Game-Changing Android App Developers in IndiaProtonshub Technologies is named one of the game-changing Android app developers in India. Do you have a project? Contact us. We’d love to help.
Read More
Mar 12, 2024
Artificial Intelligence in the Healthcare Industry: A Statistical AnalysisAI in healthcare is expected to increase to $187 billion by 2030, suggesting that AI is capable of delivering better outcomes
Read More
Mar 01, 2024
How Much Does It Cost to Build An App [Complete Cost Breakdown]Have you ever heard the phrase “there’s an app for everything”? Well, it’s true!
Read More
Feb 27, 2024
Google Gemini Pro: Everything You Need to Know About This Next-Gen AIGoogle, the tech giant, has made headlines with Gemini Pro, a flagship suite of generative AI models, services, and apps. After releasing Bard as a trailer, Google launched Gemini Pro AI, the most capable and Largest Language Model (LLM). This AI technology is guaranteed to leave a domino effect on all of Google’s products and mobile applications.
Read More
Feb 23, 2024
Salesforce Development Lifecycle: Stats, Process, Models, And BenefitsSalesforce is a growing tool that is swiftly becoming popular in various industries. That’s because it has all the necessary features that a business needs to accelerate its growth. From lead management, and managing & storing customer data to improving, Salesforce can do it all.
Read More.png)
Feb 19, 2024
A Comprehensive Guide to Creating Software GDPR-CompliantWith technology at the forefront, businesses and their possessed assets have been at risk of cyber theft and data breaches.
Read More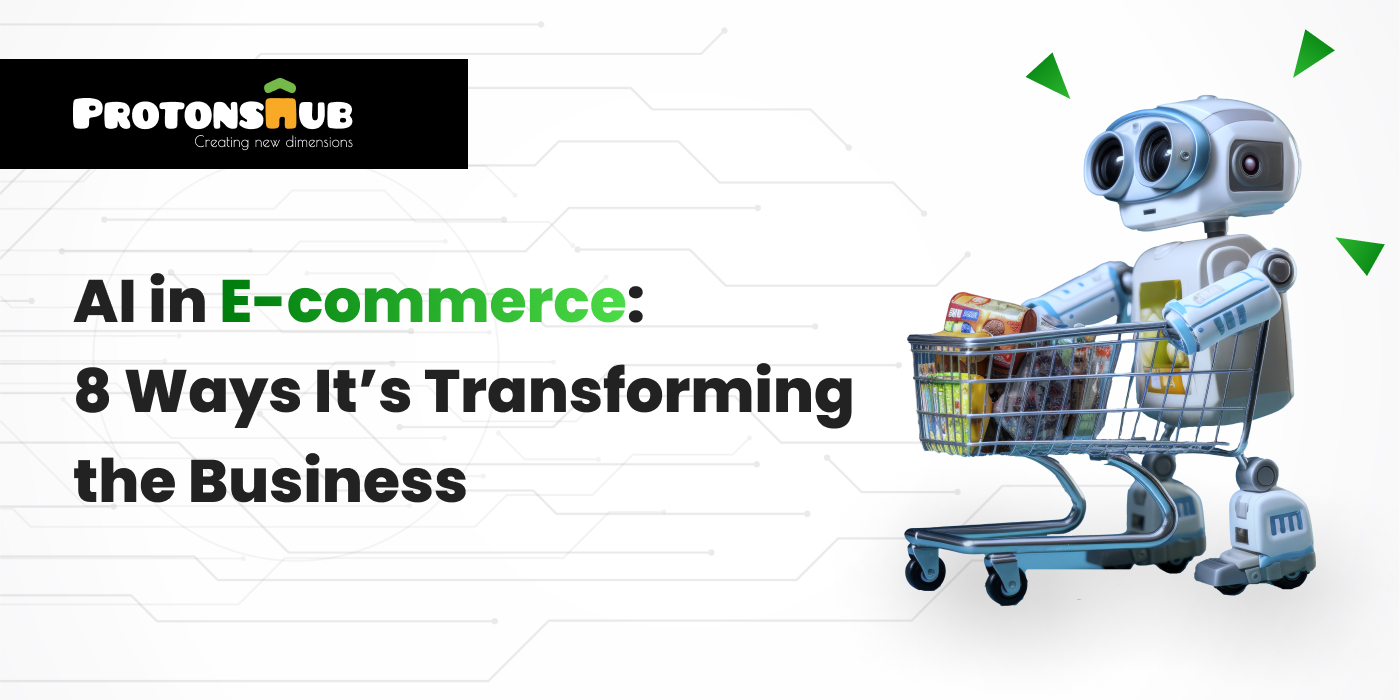
Feb 16, 2024
AI in E-commerce: 8 Ways It’s Transforming the BusinessArtificial Intelligence no longer revolves just around scary and futuristic movies; it is making headlines and can be found everywhere. Among the list of industries that are hopping on the trend of adopting AI, e-commerce has been an early adopter in implementing and improving through the power of AI.
Read More
Feb 13, 2024
Top Emerging Web Design Trends for 2024 and Beyond [Updated]With the fresh start of 2024, it's time to look at the top emerging web design trends for this year and beyond.
Read More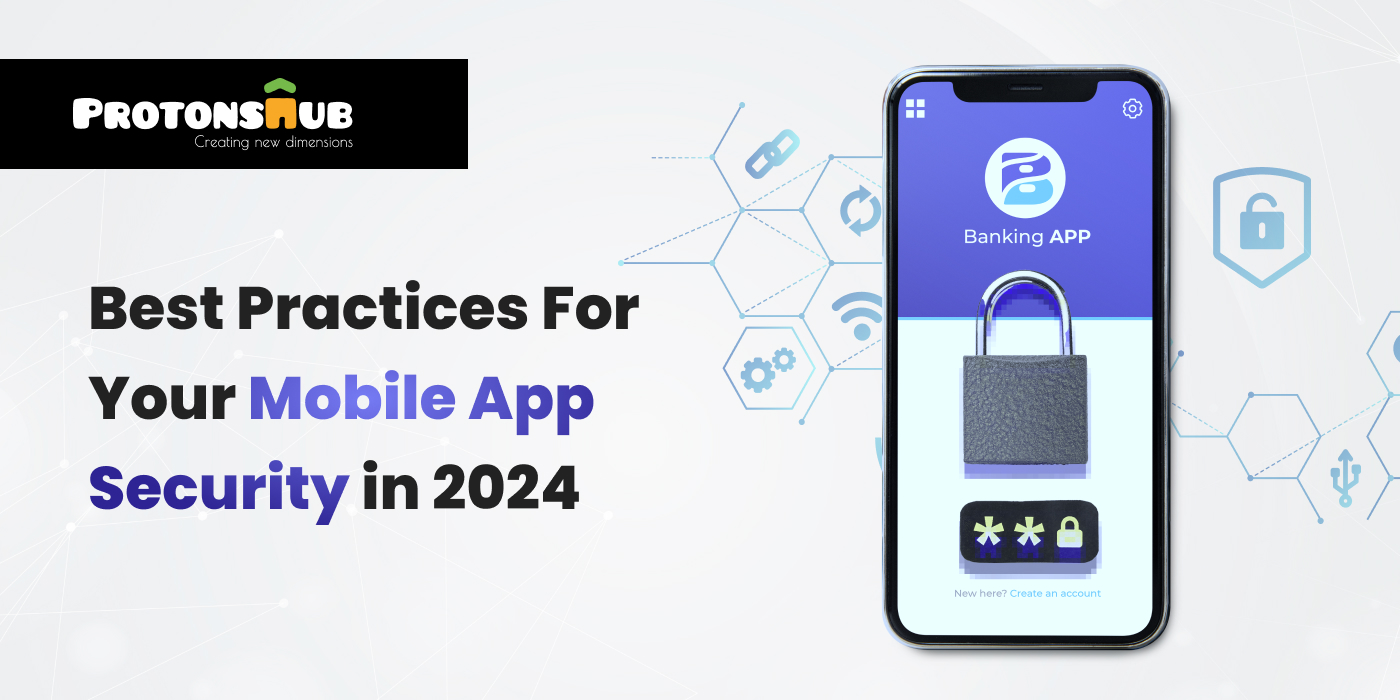
Feb 08, 2024
Best Practices For Your Mobile App Security in 2024Did you know that global phone usage has increased to 7.07 billion?
Read More
Feb 05, 2024
AI In Healthcare: Benefits, Applications, and Common ChallengesAI in healthcare has become more effective in helping physicians and other healthcare providers. It not only offers a genuine chance for professional advancement but also makes healthcare services more affordable.
Read More
Jan 30, 2024
Choose the Best Developers To Build Your Dating AppA dating app is an excellent way to socialize and find your love matches. Or can meet your better half through a casual relationship as well.
Read More
Jan 25, 2024
Choosing the Right Tech Stack for E-commerce Mobile Apps in 2024In the ever-changing world of e-commerce, choosing the right technology stack for your e-commerce app can make all the difference.
Read More
Jan 22, 2024
Tech Meets Love: The Coolest Features Coming to Dating Apps in 2024Online dating apps have established themselves as a key player in social connections. As a part of the dramatically changing tech landscape, dating apps are evolving the way people build relationships.
Read More
Jan 19, 2024
Front-End Development in 2024: Next.js vs React for Building Modern Web ApplicationsReact has been the top choice of developers for a long time but then it started demanding something more. That’s when the Next.js entered with its better capabilities.
Read More
Jan 15, 2024
White-Label vs Custom-Built Taxi App: Which One is Better?Did you know the revenue of the taxi booking industry is expected to reach US$165.60bn in 2024?
Read More
Jan 11, 2024
Unlocking Business Potential with Salesforce DevelopmentDid you know that investing in Salesforce development services can greatly benefit businesses?
Read More
Jan 08, 2024
Exploring the Best Back-end Development Trends For 2024Are you feeling the pressure to keep up with the ever-evolving user expectations? If yes, check out the top trends of 2024 that will help you stay relevant in the market.
Read More
Jan 03, 2024
The Role of AI and AR in Modern Salon Booking AppsArtificial intelligence is dominating the business activities of almost all industries, including the beauty salon sector. From appointment scheduling to marketing & promotions, artificial intelligence in the beauty industry is emerging as a new trendsetter in the marketplace.
Read More
Jan 02, 2024
A Comprehensive Guide To User Personas In Modern App DevelopmentIf your product has a good amount of users, it means the product has the potential to become successful! But you also need to figure out what group of people does not resonate with your business or products.
Read More
Dec 28, 2023
Scalability Challenges in MVP Development and How to Overcome ThemMVP app development has always been a smarter choice. But scaling it into a full-fledged product is a complicated process.
Read More
Dec 26, 2023
The Role of Artificial Intelligence in Enhancing OTT Content Recommendation AlgorithmsWith OTT platforms gaining popularity, the way we consume digital content has changed.
Read More
Dec 21, 2023
AR and VR in E-Commerce Apps: Enhancing the Online Shopping ExperienceDid you know that almost 78.65% of shoppers are known to abandon their shopping carts? While the shopping cart abandonment reasons are multiple, there is one sure-shot way to persuade customers to complete a purchase before they leave the website.
Read More
Dec 18, 2023
React UI Libraries for Building Impressive Web ApplicationsDid you know that almost 75% of consumers have admitted to judging the credibility of a website by the way it looks? It means a large part of a website’s success depends on the design and quality of the website.
Read More
Dec 15, 2023
Things to Consider While Choosing a Software Development CompanyThe stakes get high when hiring a software development company because you need to invest a significant amount of resources, capital, and time in the process. Also, with so many companies offering custom software development services, choosing the right vendor becomes difficult.
Read More
Dec 12, 2023
How to Build a Salon Appointment Booking App?Finding the best salon app and booking an appointment can be a daunting task. It can take too much time and energy, and people rarely have time to call a salon to book an appointment. This thing has created a gap in the market.
Read More
Dec 08, 2023
Complete Guide to E-commerce App Development: Cost & FeaturesEver since the 2000s, the eCommerce industry has been on a meteoric rise, with no sign of downfall.
Read More
Dec 05, 2023
9 Reasons Why You Need an E-commerce Mobile App in 2024When was the last time you had purchased something online? A majority of you would say a week or two ago.
Read More
Nov 30, 2023
How Much Does It Cost To Hire App Developers In Florida?Hiring mobile app developers is a challenging task, but not when you know the right process.
Read More
Nov 29, 2023
The Future of E-commerce in 2024 and BeyondA study has revealed that worldwide e-commerce sales have reached $5.7 trillion in 2022 This figure shows an optimistic projection of this industry for the upcoming years.
Read More
Nov 27, 2023
Mobile App Architecture Designing: Your Step-By-Step Guide for 2024The mobile app development market is incorporating new technologies and safety standards for steady growth. These mobile apps offer a better user experience, which has increased our dependency on them, making them a one-stop solution for day-to-day tasks.
Read More
Nov 23, 2023
Scaling Product After Successful MVP Launch: A Complete GuideInvesting in MVPs or Minimum Viable Products is far better than investing in a full-fledged product because it provides clear market validation and audience feedback.
Read More
Nov 20, 2023
Swipe Right On Safety: 9 Things To Consider When Creating Dating AppsThe use of dating apps has increased drastically, causing the market to grow to $8.64 billion. As per research, out of every 10, almost 3 adults are registered on dating apps.
Read More

Nov 14, 2023
How Much Does It Cost to Build a Fantasy Sports App?The World Cup fever is over with the winning strike of the Australian cricket team, but the craze for fantasy sports apps is still there.
Read More
Nov 10, 2023
A Complete Guide to Fantasy Sports App Development in 2024Almost everyone of heard about Dream11 at least once in their life, which is nothing but a fantasy sports app. For all the sports fan out there, apps like Dream11 is an innovative way to connect users with their favorite sports in a more realistic way.
Read More
Nov 07, 2023
The Role of User Feedback in MVP DevelopmentBuilding a successful minimum viable product (MVP) app is an important step in any organization’s development process. The final goal of a minimum viable product is to validate the product idea quickly in the market while also reducing the associated risks with the development process.
Read More
Nov 03, 2023
Impact of Digital Transformation on Enhancing Customer ExperiencesIn today’s soaring dependency on digital platforms, organizations are countering many challenges to deliver exceptional customer experiences. This is where digital transformation opens new doors of opportunities.
Read More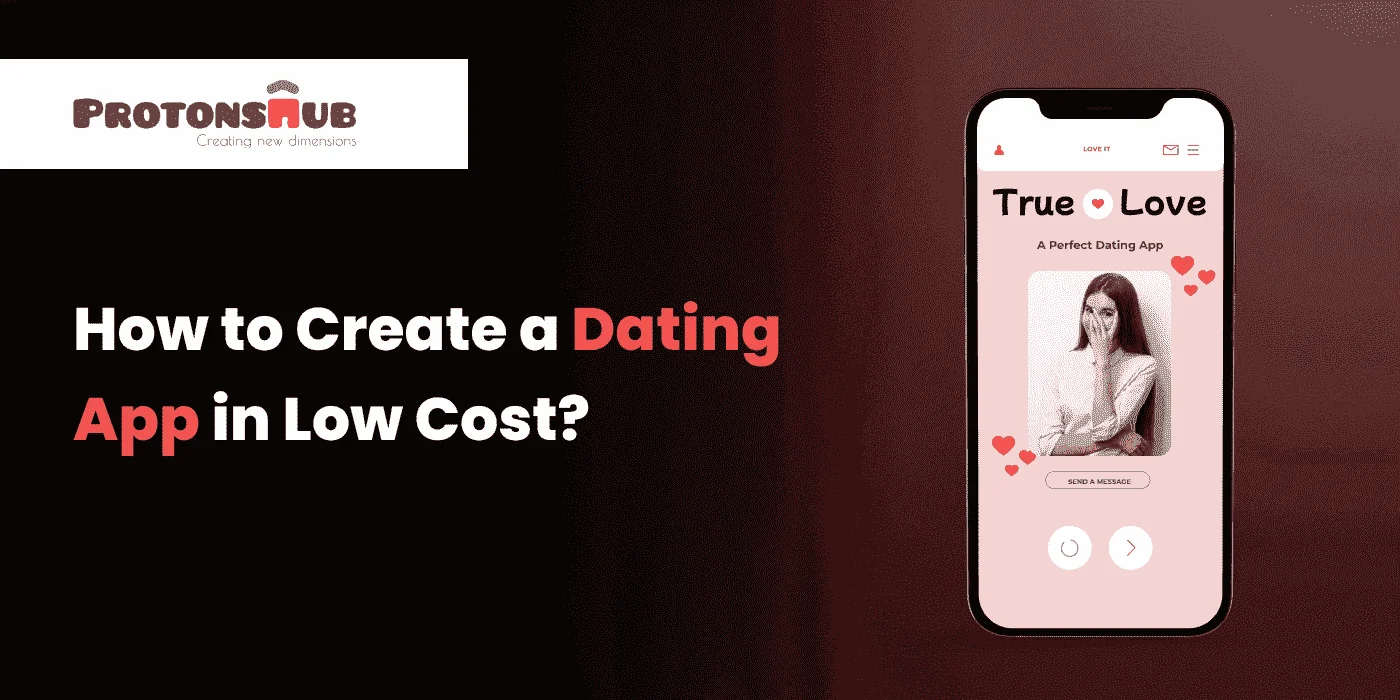
Oct 31, 2023
How to Create a Dating App at Low Cost?Are you considering developing a dating app but concerned about the price?
Read More
Oct 30, 2023
Choosing the Right Tech Stack for Your MVP: Best PracticesBusinesses that are willing to grow faster must focus on scaling properly. But how can it be done? The key lies in selecting the right tech stack so you can create a functional and robust MVP.
Read More
Oct 27, 2023
10 Things to Consider While Developing a Mobile AppWith more people relying on mobile apps for day-to-day tasks, this industry is booming with no signs of slowing down. A report by Statista has estimated that the number of mobile app downloads is going to cross
Read More
Oct 24, 2023
Unlock the Success: Top 10 Benefits of Hiring Dedicated DevelopersWith the increase in globalization, outsourcing dedicated developers have become a popular and cost-effective solution.
Read More
Oct 19, 2023
Collaborating with App Developers: A Guide for Non-Technical Startup FoundersDid you know that 15.4% of the US population is involved in startups yet the rate of failure for the same is considerably high? But why does it happen? It happens due to lack of funds and high product demand.
Read More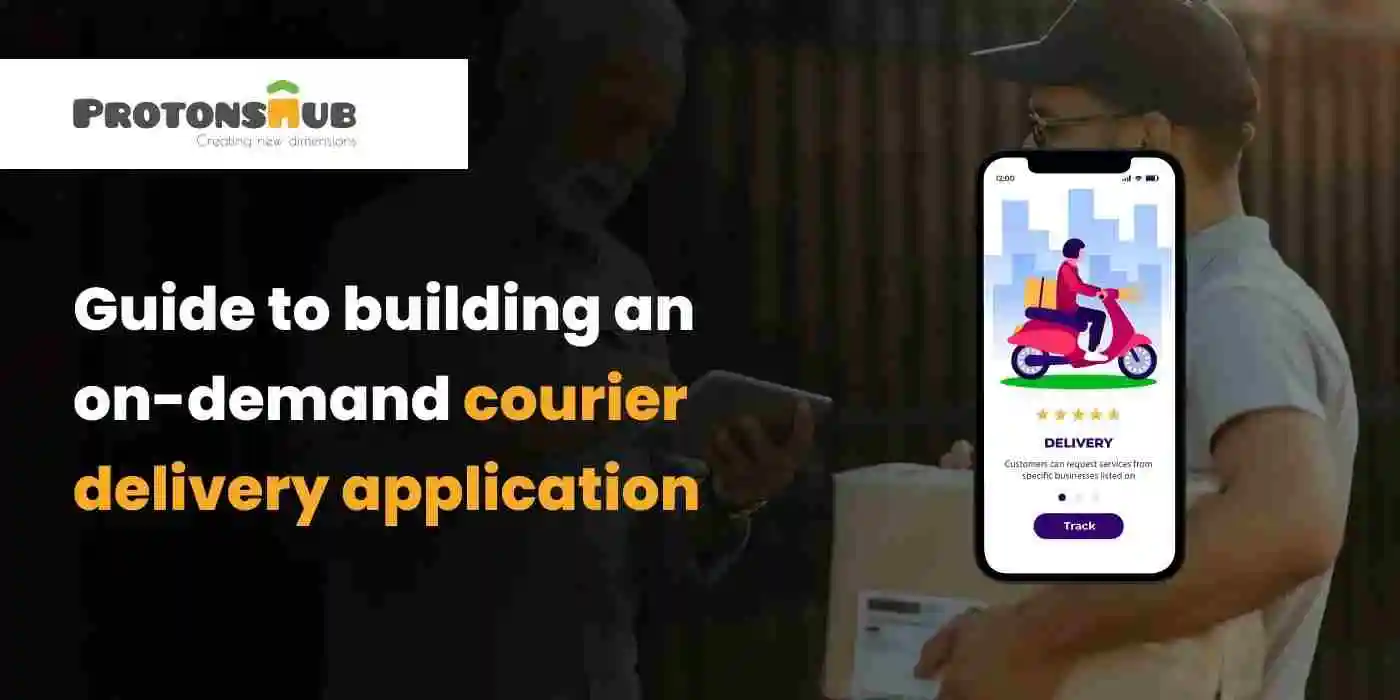
Oct 17, 2023
Guide to Building an On-Demand Courier Delivery ApplicationThe on-demand apps have changed the user experience in a positive way. Among these, the courier delivery apps have greatly contributed to the customer’s rising demands.
Read More
Oct 13, 2023
How to Develop a Logistics App like PorterDid you know that online transportation services have developed into a leading industry that holds the power to pique the public’s interest? In the year 2022, the global transportation market was valued at
Read More
Oct 11, 2023
How to Develop Travel App - Features, Cost & Technology StackDid you know that the digitalization of the travel industry has changed many traditional processes? For instance, now people use travel apps to make reservations, buy tickets, choose destinations, and get around. The trip planning has become much easier and quicker.
Read More
Oct 09, 2023
Important Things to Consider in Software Development [Full Guide]Do you know what makes or breaks a successful software development? It’s the lack of strategic planning.
Read More
Oct 06, 2023
Effective UI/UX Strategies for E-commerce App SuccessOne of the biggest challenges for e-commerce businesses is how to convert visitors into customers. By providing relevant products and services, you can make more people visit your website. But there’s more to the story.
Read More
Oct 02, 2023
Prototype vs. MVP: Which One Do You Need?Businesses of any size willing to develop a successful product can use the technique of prototype or MVP. While using one of these techniques, companies should get feedback from their targeted customers to improve their position in the market and reduce costs.
Read More
Sep 29, 2023
6 Ways Python Development Can Benefit Your BusinessIn recent years, Python has become one of the most recognizable programming languages worldwide. It is being used in everything from building websites and software testing to machine learning.
Read More
Sep 25, 2023
Challenges and Solutions in Travel App DevelopmentTraveling is not just a luxury, it has become a hobby for many people. That’s because when we travel, meet new people, learn new things, and click memorable pictures. Also, it has emerged as a new source of income.
Read More
Sep 21, 2023
How to Track Content Marketing KPI in B2B MarketingCompanies around the globe are spending almost one-third of their budget on content production and distribution.
Read More
Sep 18, 2023
How to Develop a Doctor’s Appointment Booking App (Step-by-Step Guide)Believe it or not, we are heavily dependent on applications to complete our day-to-day tasks. Be it taxi booking, grocery, or dating, we need apps to do almost everything.
Read More
Sep 14, 2023
Choosing the Right Technology Stack for Your Taxi Booking AppNone of us have ever thought about getting picked up and dropped off by a taxi without yelling out the directions to the driver. But, with the advent of technology and the emergence of on-demand taxi-booking platforms, all of this has been like smooth sailing on a calm sea.
Read More
Sep 13, 2023
Challenges and Solutions in Healthcare App DevelopmentBy the year 2028, the global healthcare app industry is expected to reach $314.60 billion. It is because, with the rise in demand for digital healthcare, the need for developing health solution apps has also increased.
Read More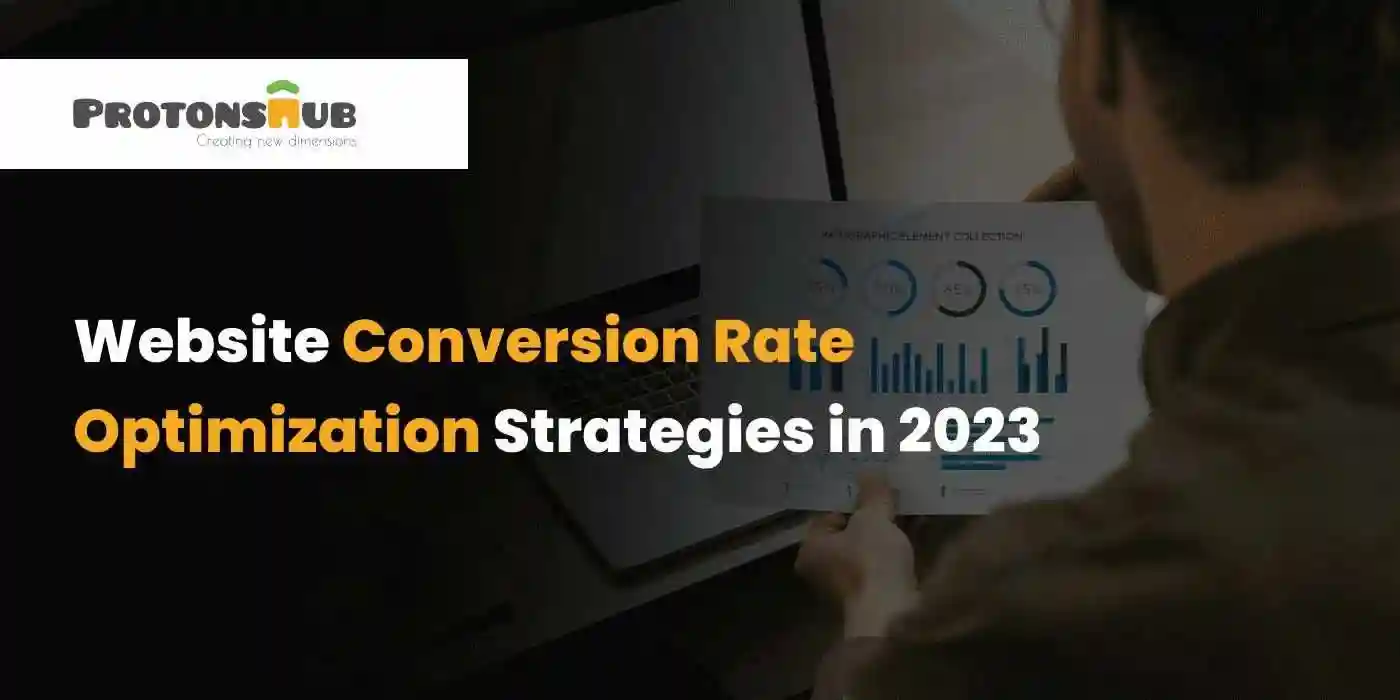
Sep 08, 2023
Website Conversion Rate Optimization Strategies in 2023One of the main purposes of a website is to drive conversion. The more people sign up for the products and services, the better will be the revenues.
Read More
Sep 06, 2023
How Much Does It Cost to Develop a Dating App Like Hinge?Fun and interactive dating apps like Hinge have changed the way people meet and date.
Read More
Sep 04, 2023
Boosting Productivity: How Implementing an ERP System Can Streamline Your Operations?If you look back to the time when manually handling operations was the only way to get tasks done seems quite challenging. Now, since technology has significantly emerged, all these tasks can be done in the blink of an eye.
Read More
Aug 30, 2023
Building Scalable Web Applications with ReactJS in 2023With the emergence of new technologies, developing mobile-friendly applications has become a common phenomenon. However, each project demands the use of different technologies.
Read More
Aug 24, 2023
9 Reasons: Why Startups Should Hire Developers on ContractWhether you plan to start a small or large business, the process can be challenging. That’s because you need to conduct detailed market research for your product or service to create a competitive marketing strategy.
Read More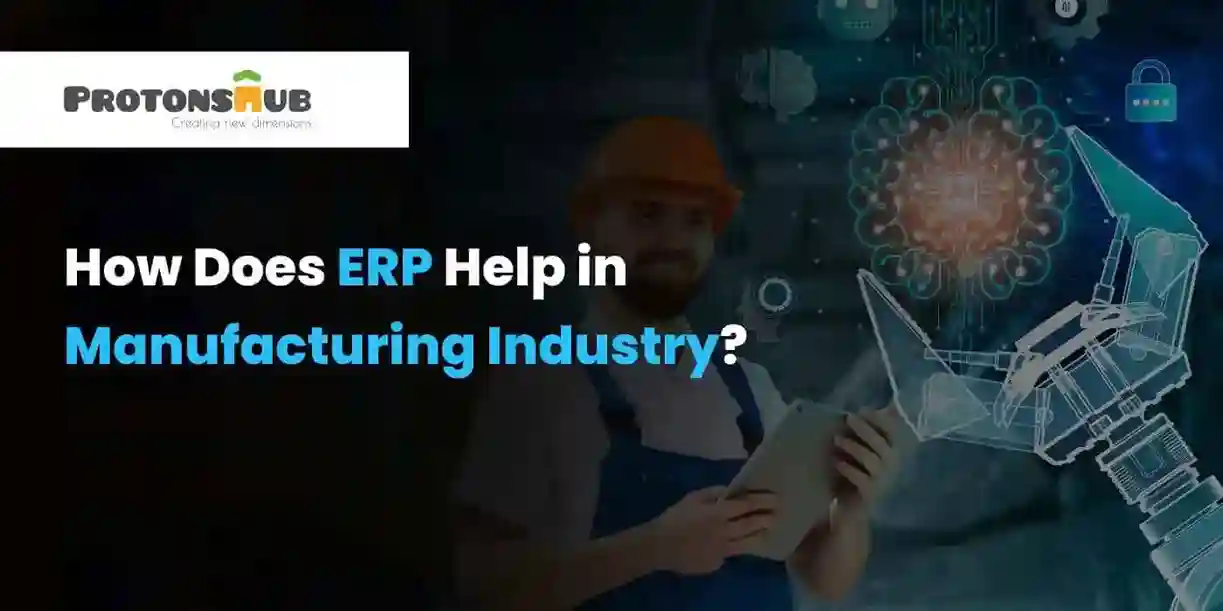
Aug 23, 2023
How Does ERP Help in the Manufacturing Industry?Is your organization keeping up with the ever-changing pace of the manufacturing Industry?
Read More
Aug 21, 2023
How to create a dating app like Tinder?Ever wanted to experience what dating another person feels like but don’t know how? Well, it can be embarrassing to just ask any random guy/girl if they wanna date.
Read More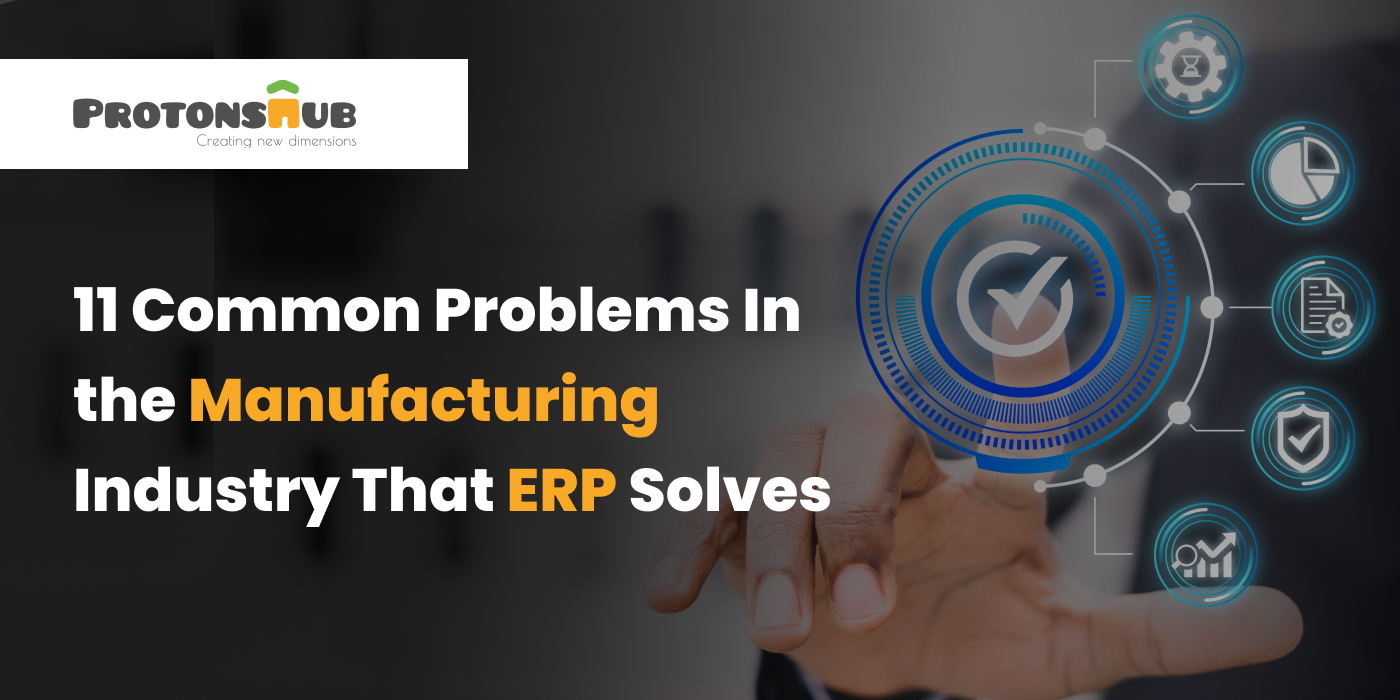
Aug 18, 2023
11 Common Problems In the Manufacturing Industry That ERP SolvesThe Enterprise Resource Planning (ERP) system in the manufacturing sector has transformed many organizations from their core. This intense growth has only been possible due to ERP’s capacity to unlock better opportunities and efficiency in solving manufacturing issues.
Read More
Aug 17, 2023
The Future of Taxi Booking Apps: Trends and InnovationsWhen was the last time you halted a taxi by waving your hand? Probably you don’t remember and neither do any of us when we did the same because we have gotten into the habit of booking taxis via mobile phones.
Read More
Aug 14, 2023
How to build a stock trading app (Step by step guide)Does the emergence of stock trading applications intrigue you enough to invest in one by yourself?
Read More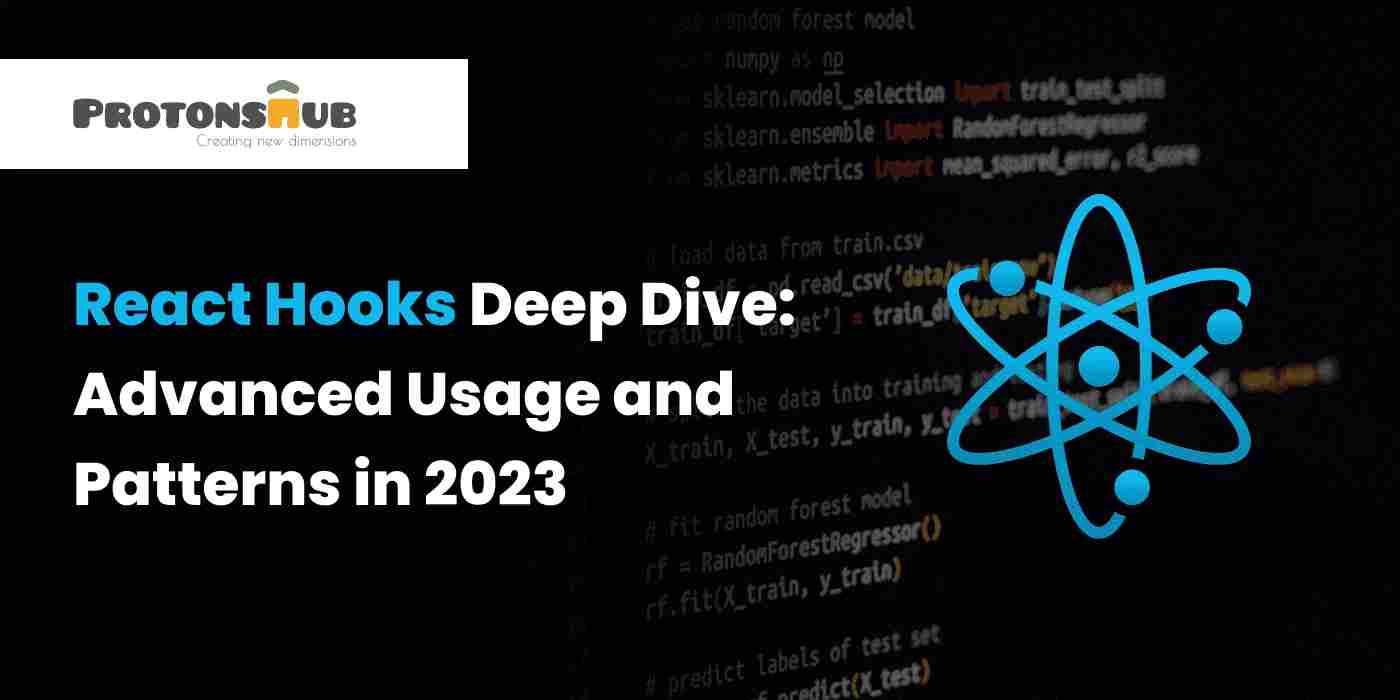
Aug 10, 2023
React Hooks Deep Dive: Advanced Usage and Patterns in 2023Among JavaScript developers, React remains the preeminent choice for enhancing user interfaces. Its emphasis on functional programming principles, such as pure functions, props, and state, empowers engineers to craft robust web applications.
Read More
Aug 07, 2023
How Does Your Website’s UI/UX Impact Your Business Growth?Are you tired of dealing with increasing bounce rates, unsatisfied customers, and decreasing website visitors?
Read More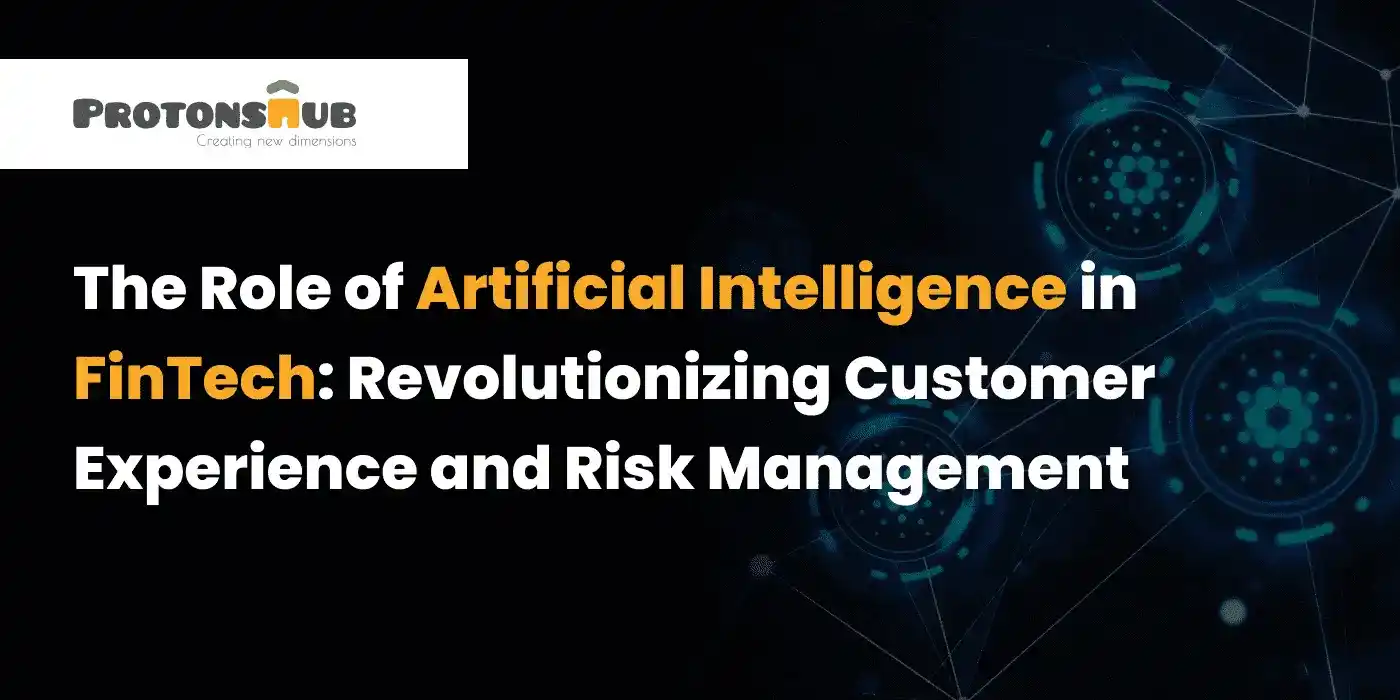
Aug 04, 2023
The Role of Artificial Intelligence in FinTech: Revolutionizing Customer Experience and Risk ManagementArtificial intelligence has molded the way how FinTech Industry works.
Read More
Aug 03, 2023
Benefits Of Hiring an India-Based Ruby on Rails Development CompanyAre you having trouble deciding whether to hire a Ruby on Rails development company from India?
Read More
Jul 31, 2023
Emerging Trends in Artificial Intelligence and Machine Learning: The Future of ITArtificial intelligence (AI) and machine learning (ML) are rapidly transforming the world of information technology (IT).
Read More
Jul 28, 2023
Exploring GraphQL in Ruby on Rails: A New Approach to API DevelopmentThe new age of web development has created enormous opportunities for new software, which needs APIs for seamless communication. The fact isn’t hidden from anyone that APIs (Application Programming Interfaces) are essential to creating modern applications.
Read More
Jul 26, 2023
Exploring React Native Libraries and Tools for 2023 DevelopmentReact is one of the most used javascript libraries among developers who wants to build a scalable and robust mobile application. It will continue to flourish in the coming years, owing to the advancement and innovations.
Read More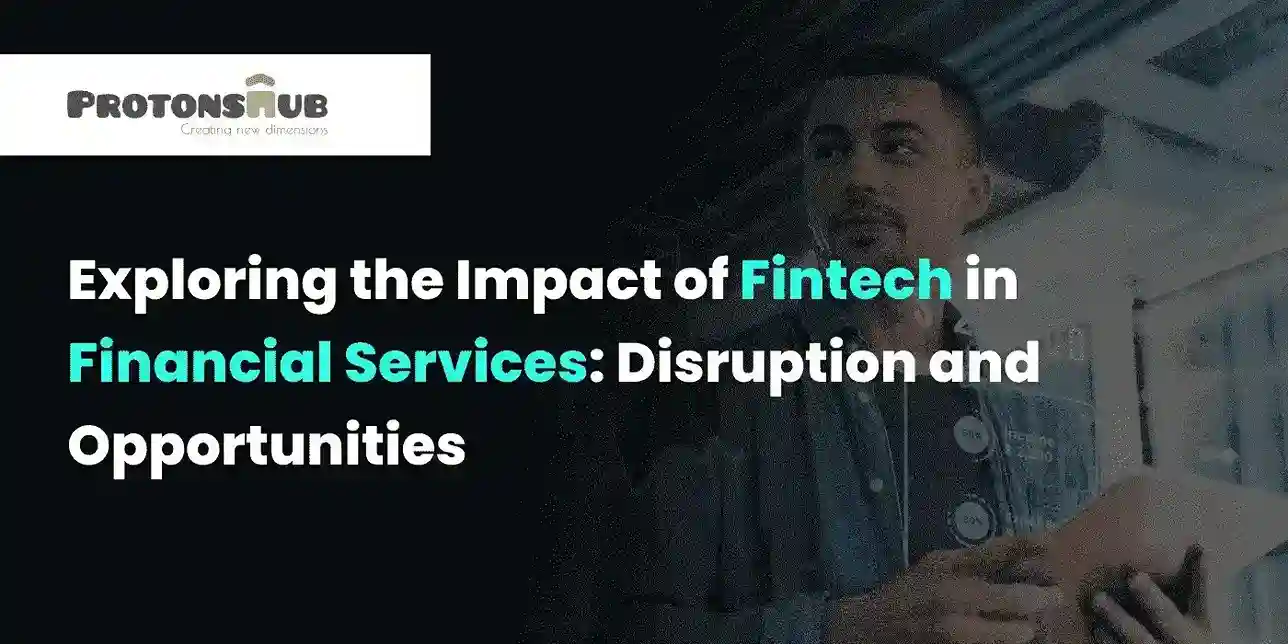
Jul 23, 2023
Exploring the Impact of Fintech in Financial Services: Disruption and OpportunitiesRecent years have seen a significant change in the banking sector as new fintech businesses have appeared, offering cutting-edge technologies and services that alter how banks conduct business.
Read More
Jul 21, 2023
The Rise of Telemedicine: Advancements in Healthcare Delivery and AccessibilityEver experienced a situation where you needed immediate medical assistance but had no one near you? Well, this is a common situation in rural areas where good medical service is located far from where you live.
Read More
Jul 14, 2023
Low-Code and No-Code Development: Accelerating Application DeliveryWhen they say choose an IT career, most of them meant programming. But what if I say you don’t need to be a programmer in order to develop a website or an application?
Read More
Jul 13, 2023
How to Build a Mobile App With a Limited Budget?There was a time when only large organizations considered having an app for their business. Now, the times have changed, every company nowadays, despite its size is looking to have an app developed for N number of good reasons.
Read More
Jul 12, 2023
How to Build a Progressive Web App (PWAs) with ReactApps were just a mere idea when it was first introduced decades ago. People didn’t have any idea about how these apps were going to change their lives completely.
Read More
Jul 11, 2023
Leveraging Sales and Marketing Alignment for Revenue GrowthSales and Marketing, both are essential pillars of an organization. The fact that sales department converts the leads to closure, and the marketing department creates brand awareness via advertising, content creation, and social media handling.
Read More
Jul 10, 2023
Unleashing the Power of Personalization: How Automation Can Supercharge Your Sales and Marketing EffortsToday, every customer looks for achieving tailored experiences that meet their needs. Personalization is a significant factor when it comes to sales and marketing.
Read More
Jul 07, 2023
Streamline Your Sales Process with Marketing Automation: A Step-by-Step GuideImagine having tons of work on priority and you are stuck doing chores that can be automated if you would have thought in a more innovative way.
Read More
Jul 03, 2023
The Role of AI in Banking Software DevelopmentPeople have already anticipated the potential of AI, thanks to the tools like ChatGPT, Adobe Firefly, Writesonic, and many more. Artificial Intelligence has all the hype for today and its implementation in the banking industry has raised many concerns and opportunities.
Read More
Jun 28, 2023
Top 9 Reasons to Invest in a Mobile App for Your RestaurantGood restaurants are needed everywhere, similarly, those restaurants need a good mobile application. Wondering why? Let’s find out.
Read More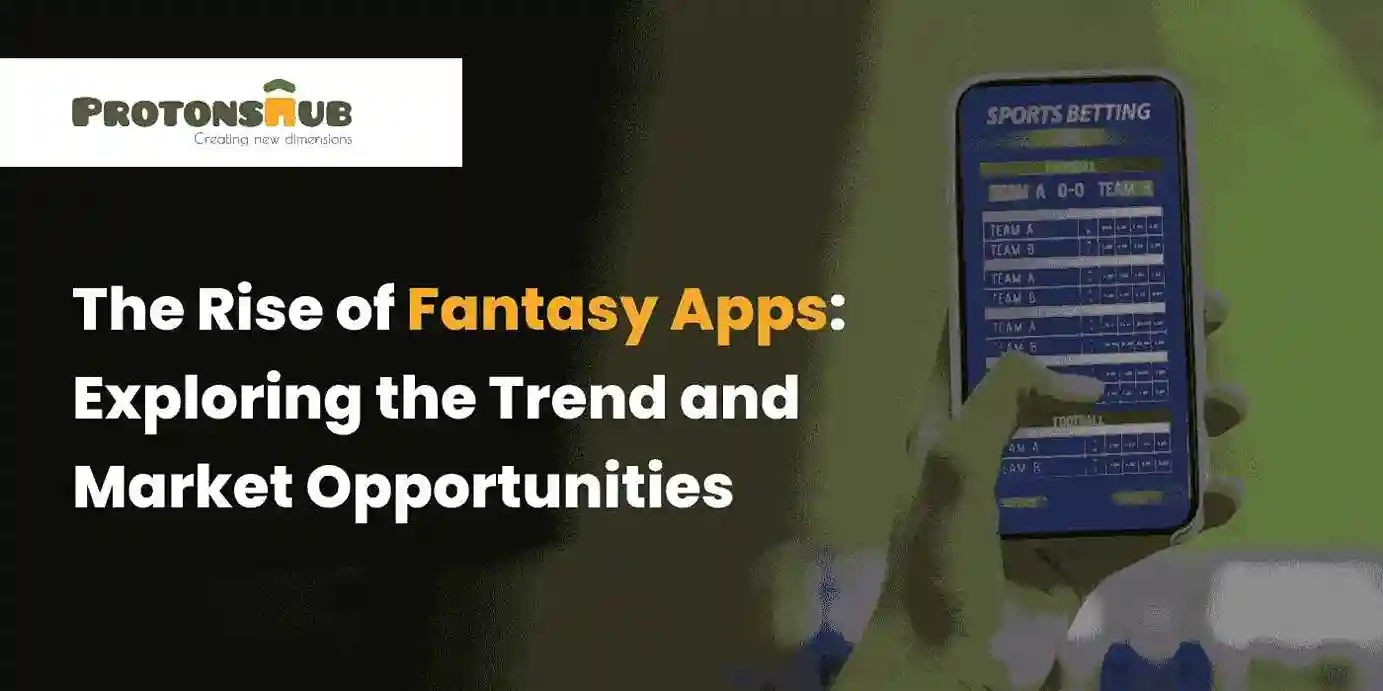
Jun 26, 2023
The Rise of Fantasy Apps: Exploring the Trend and Market OpportunitiesTechnology is making fantasy apps more popular than ever before, despite traditional fantasy sports' popularity.
Read More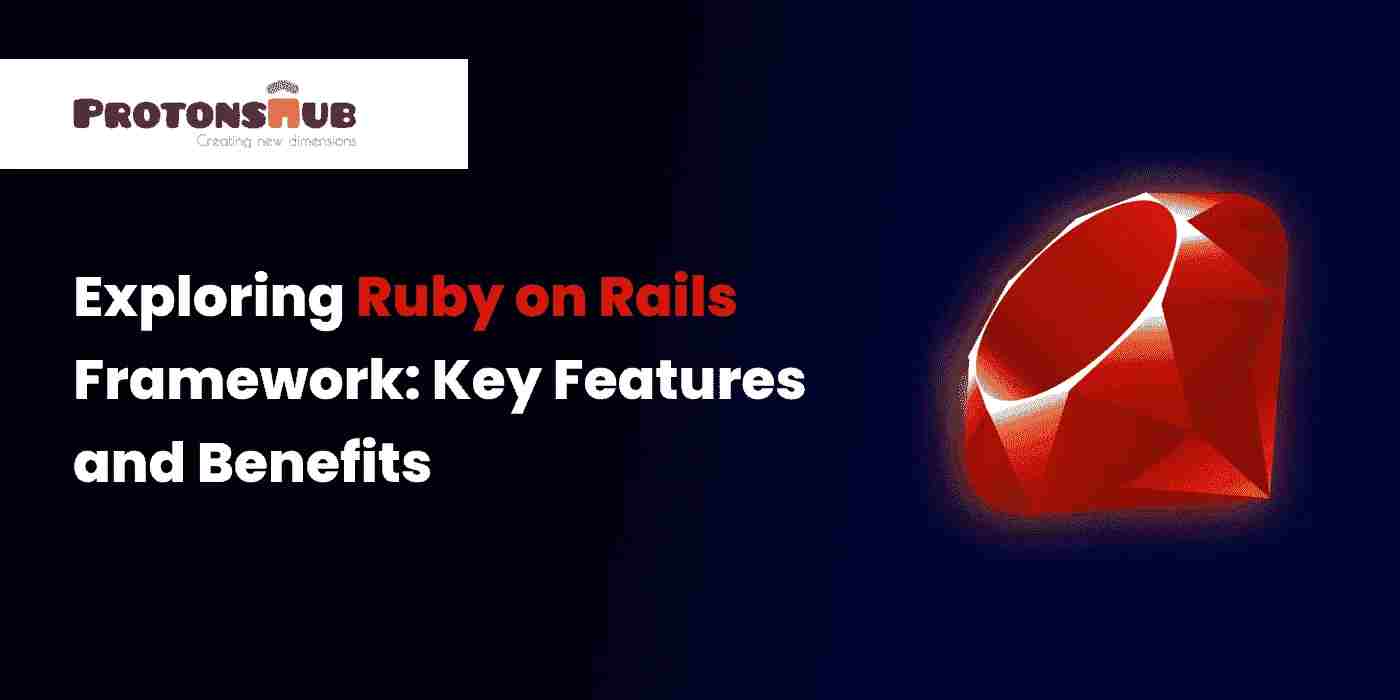
Jun 20, 2023
Exploring Ruby on Rails Framework: Key Features and BenefitsHave you ever heard of RoR or Ruby on Rails?
Read More
Jun 19, 2023
10 Tips and Tricks to Choose the Best App Development Partner for Your BusinessA well-designed app is not easy to create today. A single app must be developed over the course of several months, and obtaining the desired app may take up to ten months.
Read More
Jun 15, 2023
How to Build an Instant Grocery Delivery App: A Guide for Business OwnersHow many of you have thought at least once about fulfilling our grocery needs in the comfort of our homes? Almost everyone, right?! We are in an era where almost everything can be delivered to your doorstep within no time, and grocery apps are not left behind in the lane as well.
Read More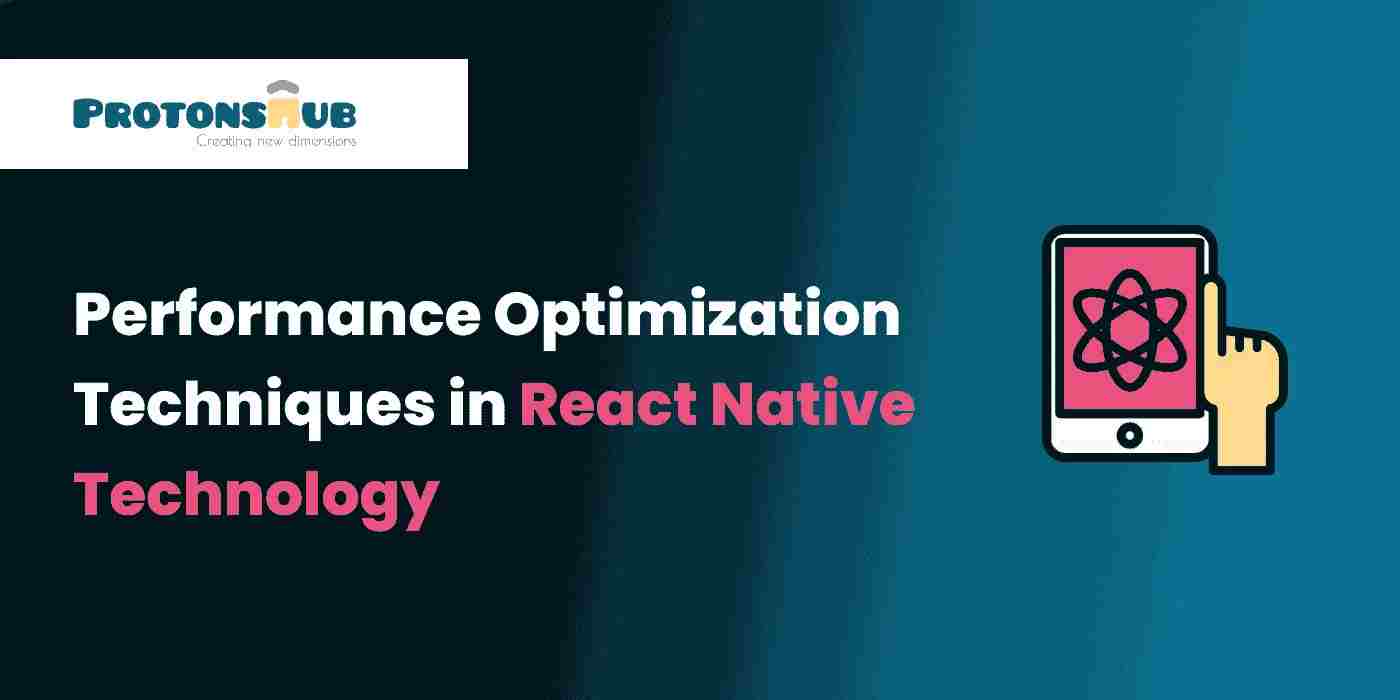
Jun 14, 2023
Performance Optimization Techniques in React Native TechnologyReact Native is without a doubt the method of choice for developing hybrid apps in the future. It provides high performance, adaptability, scalability, speed, and agility.
Read More
Jun 12, 2023
How to Integrate Front-End Frameworks with Ruby on RailsDo you know building solid and dynamic web apps with Ruby on Rails (RoR) and front-end framework integration may be quite effective?
Read More
Jun 08, 2023
A Guide To Hiring Full-Stack Developers For Web ApplicationsInstead of making several purchases, we always look for a package, whether it's making hotel reservations, dining out, or hiring a developer.
Read More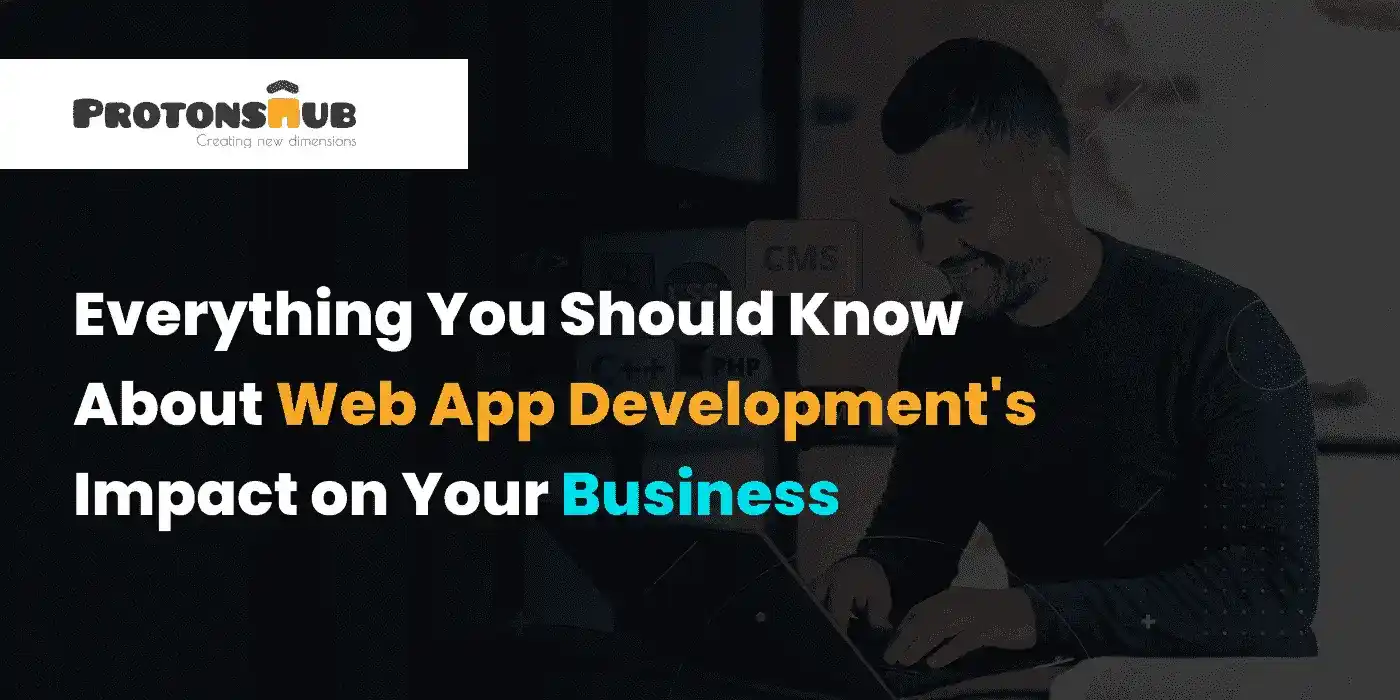
Jun 07, 2023
Everything You Should Know About Web App Development's Impact on Your BusinessThere’s a reason why the IT sector is at its peak and the reason is surging web app development. The digital world generates a huge demand for different websites and applications, aiding in revenue generation for businesses.
Read More
Jun 06, 2023
How Blockchain Boosts Healthcare? Trends,Innovations & Advantages!In recent years, blockchain technology has emerged as a game-changer in various industries, and one area where its potential impact is gaining significant attention is healthcare. The decentralized and secure nature of blockchain holds immense promise for transforming the healthcare paradigm.
Read More
Jun 05, 2023
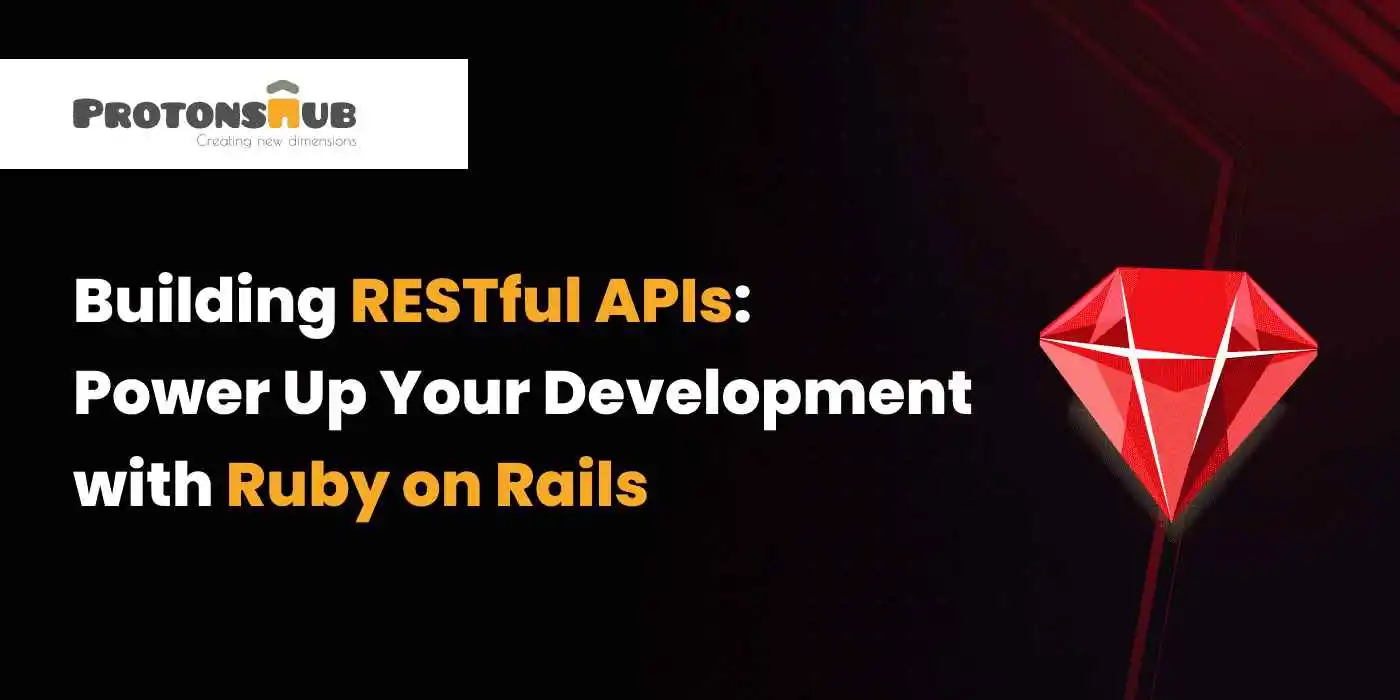
How to build a RESTful APIs: Power Up Your Development with Ruby on RailsFirst of all, APIs. What are they?
Read More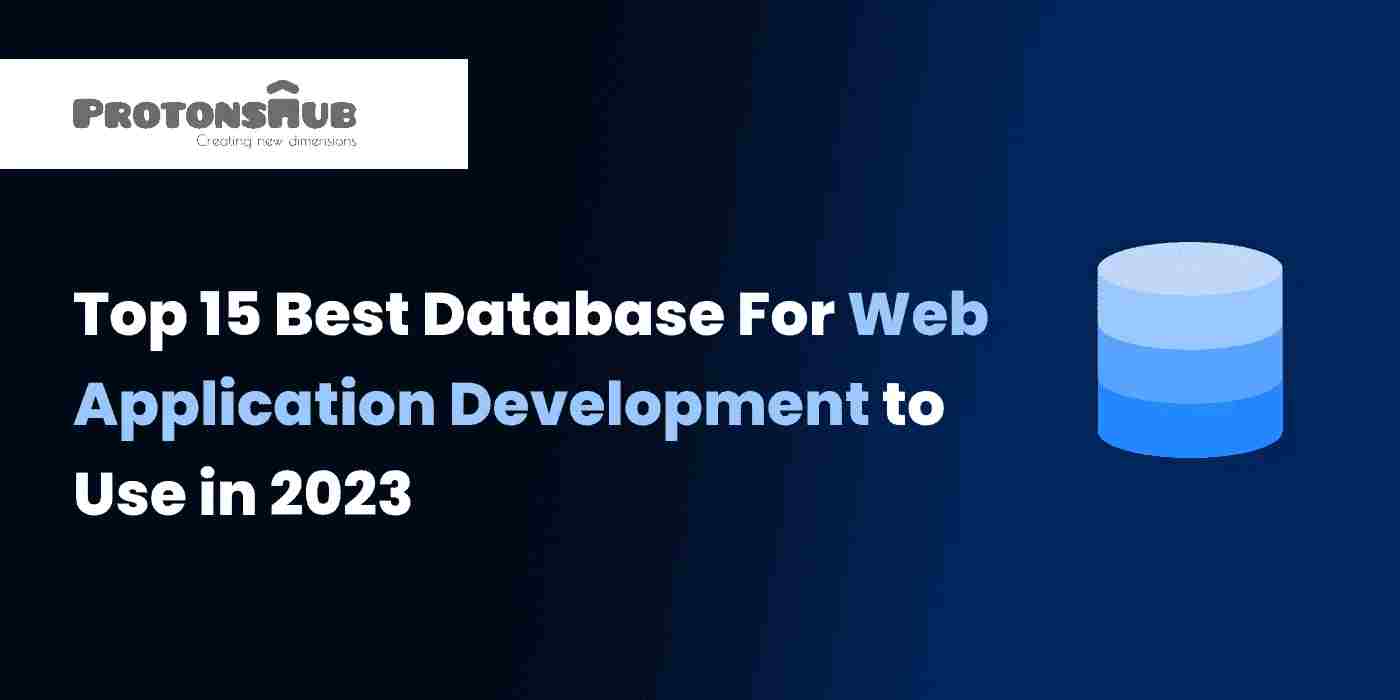
Jun 01, 2023
Top 15 Best Database For Web Application Development to Use in 2023Now imagine you have created a website, but do you have proper data and record about how many users are coming to your website and what pages they have visited?
Read More
May 29, 2023
5 Ways An LMS Can Revolutionize Your Organization's Training ProgramsLearning has come a long way from the days of writing every sentence on paper or keeping hundreds of notebooks.
Read More
May 24, 2023
How to Choose the Right Learning Management System for Your OrganizationThere was a time when e-learning was an imaginary concept but it turned into reality a long ago, and COVID-19 restrictions have fueled this industry. All this became possible with the learning management system or simply LMS.
Read More
May 23, 2023
5 Ways a Learning Management System (LMS) Can Revolutionize Your Organization's Training ProgramsDo you concur that failing to adjust to change can sometimes result in a significant loss?
Read More
May 22, 2023
The Impact Of ChatGPT On Social MediaDo you know which is the most AI-Powered tool currently in the market?
Read More
May 16, 2023
The Future of Learning Management Systems: Trends and Predictions for 2023 and BeyondNo one believed earlier when someone said ‘Learning can be fun’! However, technological advancements have made the statement possible. There are several methods coming day by day to promote an interactive learning option in order to make the process enjoyable.
Read More
May 15, 2023
How is AI Transforming the Future of the Logistics Industry? (Benefits and Use Cases)AI has taken the world by storm in the last few years, and it is only going to continue at an even better pace. Since so many industries are revolutionizing with artificial intelligence, logistics is also not left behind.
Read More
May 11, 2023
Taxi Booking Mobile App Development Cost & FeaturesAre you still sending your family members to bring a taxi (Old traditions are good to have but don’t you think change is the new normal)? If yes, then you should stop! Local taxi owners charge a hefty amount of money for going to places that can be reached at half of that price.
Read More
May 10, 2023
How To Develop A Matrimonial Mobile App? A Complete Guide (Features, Process & Cost)One of the most crucial aspect of everyone's life is marriage. However, it can be difficult these days to find the right partner.
Read More
May 08, 2023
How AI Is Transforming The Healthcare Industry?Does Artificial intelligence have the potential to transform the healthcare industry?
Read More
May 05, 2023
Main Reasons Why UI/UX is the Final Stage for Widespread Web3 AdoptionDo you know that implementing the write strategy with UI/UX design can lead to mass adoption of Web3 platforms?
Read More
May 02, 2023
How AI Is Transforming The Future Of EdTech Industry?Integration of AI and machine learning is taking the world to the next level and the education sector did not remain untouched from this.
Read More
May 01, 2023
How to get investors for your mobile app startup?Are you a new startup trying to find out ways to grow your business? Or are you looking for ways to grow your existing mobile app business?
Read More
Apr 29, 2023
How to Make an On-Demand Medicine Delivery App Like 1mg?A healthy body is our most precious possession. The pandemic made us realize the value of a healthier body and more importantly, immunity. It is sad to convey that there was a time in life when almost each and every person relied on medicines.
Read More
Apr 26, 2023
How to Develop a Fantasy Sports Mobile App like Dream11?Who doesn’t like sports?
Read More
Apr 25, 2023
Advantages of Utilizing Ruby on Rails for Application Development in 2023The fast-paced environment waits for no one, and Ruby on Rails (RoR), understood the assignment better than any other framework. Productive frameworks like Ruby have transformed the way of working in the web development culture all over the world.
Read More
Apr 24, 2023
How to create a mobile app like UnacademyThinking to build a mobile app like Unacademy?
Read More
Apr 17, 2023
Top 8 Reasons Why Your E-Commerce Business Needs a Mobile AppWant to scale up your eCommerce business revenue?
Read More
Apr 13, 2023
How To Build A Telemedicine App in 2023? (A-Z Guide)Have you heard of the term "Telemedicine"?
Read More
Apr 12, 2023
How to Create the Wireframe of Your Application in 2023Are you wondering how wireframes can help your application stand out?
Read More
Apr 06, 2023
10 Tips to Create a Modern App UI/UX Design for Your BusinessThere are a lot of modern applications, so what makes some of them unique in the market?
Read More
Apr 05, 2023
Why use Ruby on Rails for your product development in 2023A wide variety of frameworks are available on the market. However, Ruby on Rails web application development is the most popular and preferred by many developers and firms.
Read More
Apr 04, 2023
How to Develop an Agritech Mobile App?Digital technology is transforming agriculture and food production on a global level.
Read More
Mar 28, 2023
Why Do USA Clients Prefer to Outsource Projects to IndiaAre you planning to outsource your next project to India?
Read More
Mar 28, 2023
10 UX/UI Design Trends to Watch for in 2023UI/UX design is a creative field that requires a unique approach every time you create something new. It also helps businesses in
Read More
Mar 27, 2023
Top 8 Benefits of ReactJS For Your Application DevelopmentThe new digital world can’t live without mobile and web applications
Read More
Jan 20, 2023
10 Game-Changing Web Development Trends of 2025 Every CTO Must KnowThere are around 1.14 billion websites in existence right now. The market for web development is expanding quickly, and in this cutthroat competition, those who stay on top of the trends succeed.
Read More
Jan 17, 2023
Why You Should Hire A Dedicated Remote Developer In 2023Since working remotely is becoming more common, people are often doing it these days. Employers can save money by recruiting remote workers since there are fewer overhead costs and lower employee turnover.
Read More
Jan 11, 2023
How To Find The Right MVP Developer For Your Startup IdeaAre you a startup trying to figure out how to maximize the potential of a minimum viable product (MVP)?
Read More
Dec 28, 2022
How Technology Is Transforming The Logistics Business?Online shopping trends have accelerated eCommerce growth in recent years, which has stimulated the growth of logistics services to optimize the supply chain management system.
Read More
Dec 22, 2022
Healthcare Mobile App Revenue Tips - 8 Ways To Grow Your BusinessAre you trying to find ways for your mobile healthcare app to make money but having trouble doing so?
Read More
Dec 16, 2022
Impact Of Technology And Automation On EducationAutomation is challenging, but what comes with hardships always pays off. Any industry loss is always attributed to unending demands and resource scarcity.
Read More
Nov 10, 2022
Top Mobile App Ideas For Restaurant And Food Industry 2022-23Globally, the food industry is rapidly expanding. From USD 111.32 billion in 2020, it is anticipated to increase to USD 154.34 billion in 2023. Inevitably, mobile apps are now a part of life in the food industry.
Read More
Sep 01, 2022
How Agile Technology Benefits Software Development?"Still, stuck at why to use agile methodologies? We are here to assist you in your search. "
Read More
Aug 03, 2022
Top React Developer Tools For Mobile App DevelopmentImproving performance can be tedious for a React Developer, but what makes it achievable are the right tools they choose.
Read More
Aug 03, 2022
Hire Remote Developers!Dedicated resource hiring is preferred by a majority of organizations that intend to put a professional IT team in place for building a website, mobile application, or customized software.
Read More
Jul 13, 2022
Key Reasons To Outsource Web DevelopmentTime is money and who better than a smart business person can understand this? If you also run a business and want to save time, this blog is for you.
Read More
Jul 08, 2022
Advantages Of Hiring A Global Staffing Agency For Your Start-UpThe struggle of hiring a perfect candidate for the job is very well-known for a business owner. But have you ever wondered how easy this process can get if you consider taking help from a global staffing agency?
Read More
Jul 05, 2022
Most Preferred Framework For Mobile App Development 2024It’s no surprise that mobile apps have become an integral part of everyone’s lives. Whether you want to choose a good spot for an outing or a book to read, taking the smartphone out of your pocket remains constant, because you have apps for everything.
Read More
Jul 01, 2022
An In-Depth Guide to Content Management System (CMS)Implementing a Content Management System (CMS) can empower your business website. It can be a game-changing investment decision to godspeed up your digital journey.
Read More
Jun 28, 2022
The Ultimate Guide To Mobile Application Development 2024The ever-rising demand for custom software development has revolutionized modern-day businesses with tremendous access to information
Read More
Jun 27, 2022
Microservices The Shining Star Of New Age IT InfrastructureChanging design patterns and race to substantiate the modern design and delivery approach Microservices architecture has been the face of the shift and has been a potential front runner in mainstream design process and methodology
Read More
Jun 21, 2022
Multi Tenant Architecture!As per a report by Gartner, by the end of 2022, the cloud services industry is expected to grow exponentially by 40%, and the market size of the cloud services industry will be approximately 3X the overall growth of IT services.
Read More
Jun 10, 2022
Trending UI/UX DesignThe business value of design aesthetics is no more a question to be asked. In this era of digital transformation, user experience is what drives a software product’s success, whether B2B or B2C. Hence, it has become critical for businesses to understand the significance of seamless and unique UI/UX design services for their product.
Read MoreTurn Your Billion-Dollar Dating App Idea Into Reality!
- Contact Us


 Contact Us


First of all, APIs. What are they?
Consider API or Application Programming Interface as a connecting wire that communicates your (client’s) needs to the server.
Similarly, RESTful APIs are nothing but a central hub of communication, which passes the client’s requirements to the main server. These requirements are sent to the server using a standard format, known as HTTP methods.
However, it is not as simple to build RESTful APIs in RoR as appointing a waiter. That’s why we have narrowed down the process of developing RESTful APIs using Ruby on Rails so one can have an idea about it.
This blog will take you through the step-by-step process of building Restful APIs using RoR, plus you all will get to know some of the best practices and tools for testing and documenting the APIs.
For those unaware, using Ruby on Rails for your product development is the right choice, since it is widely used among developers worldwide, owing to its easy framework.
So if you are a seasoned developer or a newbie in the field, or you are someone who is interested in gaining some insights about APIs and RoR, then you are in the right place. Read the blog till the end and enhance your knowledge and development skills like never before.
Process of developing RESTful APIs using Ruby on Rails
Before we start developing RESTful APIs using Ruby on Rails, just make sure you have Ruby and Rails installed. You can easily find a complete tutorial on the internet for the same.
Steps of developing Restful APIs using RoR
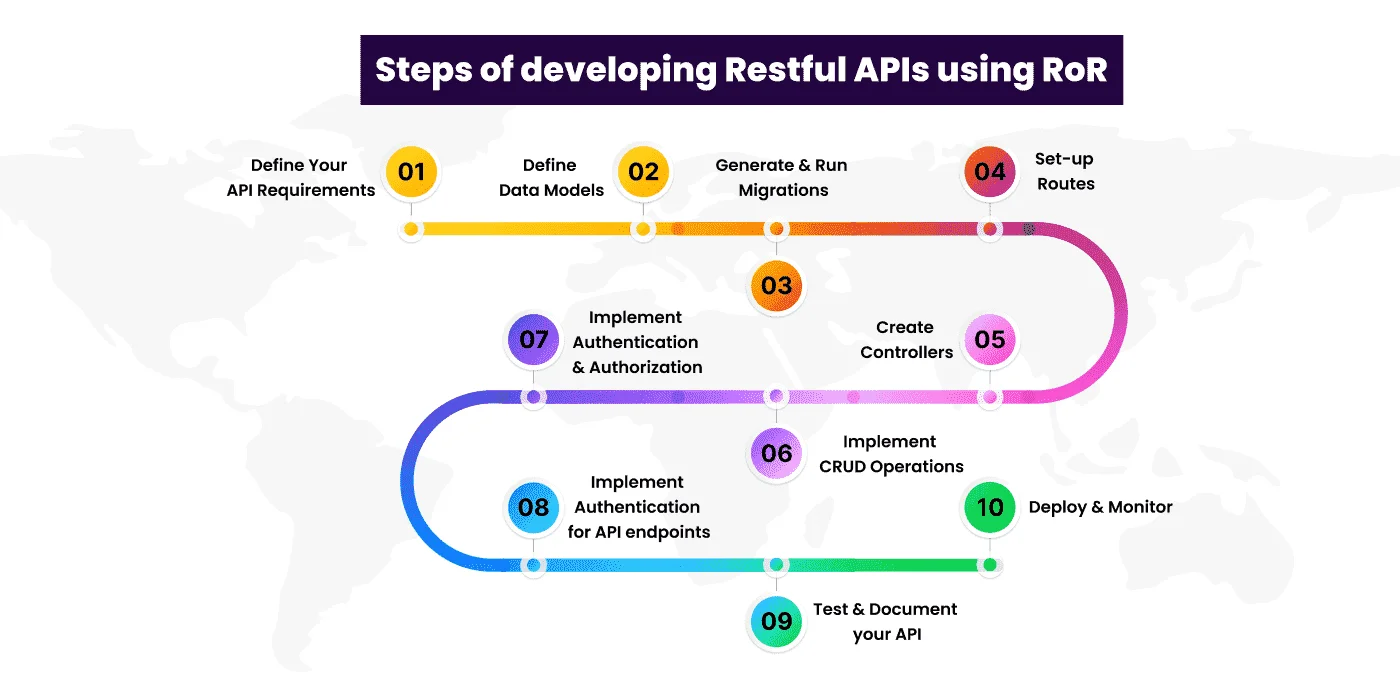
1. Define Your API Requirements
Once you have installed the correct version of Rails, you need to define your API requirements. Decide the endpoint and functionalities that API will provide, this includes determining actions, resources, as well as data formats to be used.
Here's how to define your API requirements:
- Understand and clearly articulate the detailed requirements for the API.
- Make sure there is an agreement between key players before development starts.
- Make sure there is an agreement between key players before development starts.
- Iterate through the API development process.
- Iterate through the API development process.
- Utilize an API platform.
2. Define Data Models
Data models represent the structure and behavior of the data present in the application, and these data models can be created using a special tool called ActiveRecord. Creating a data model is like building a special class, where you can define special features and rules, known as attributes and validations respectively.
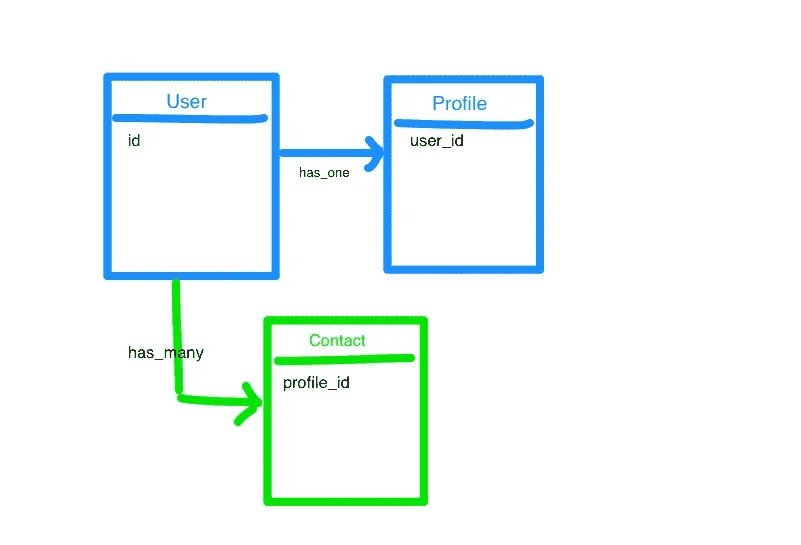
Here you can see that we have designed a basic graphical structure of a system that basically consists of three models which are User,Profile and Contact.
All three of them are associated with at least one other as required, it is a much better practice to design a system like this before moving to actual implementation.
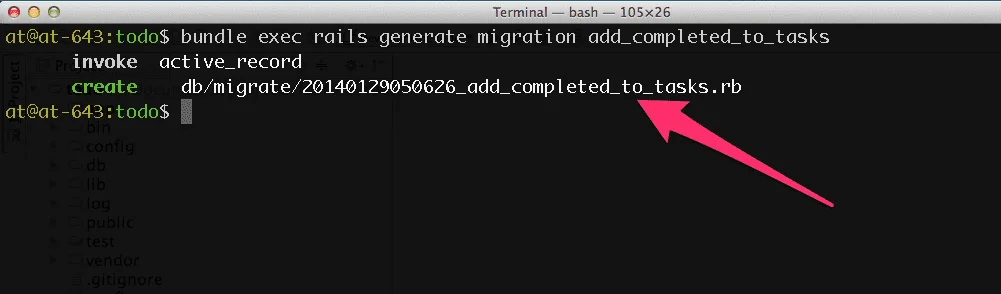
3. Generate & Run Migrations
Once you are done defining the data models, the next step is to generate and run migrations. Migrations are nothing but a way to change/manage database structure/schema. In order to generate migrations, run `rails generate migration` commands, and use `rails db:migrate` command to run migrations.
- rails generate model Person
- rails g model Person
- rails g model Person first_name last_name age:integer
First Two lines are the same thing. The third one gives Rails a little more information, so it can do a little more work for you.
4. Set-up Routes
After running migrations, the next step will be to define routes. Routes specify the mapping or direction of incoming user requests to the relevant controller actions, which are in charge of handling such requests and generating results.
The routes in RoR are defined using a Domain-Specific Language (DSL) created especially for routing, which makes it easier and more intuitive. Overall, setting up routes aims to establish a connection between incoming URLs and the corresponding controller actions.
Here is an example of Rails routes, how will they look upon running the command
Here is an example of Rails routes, how will they look upon running the command
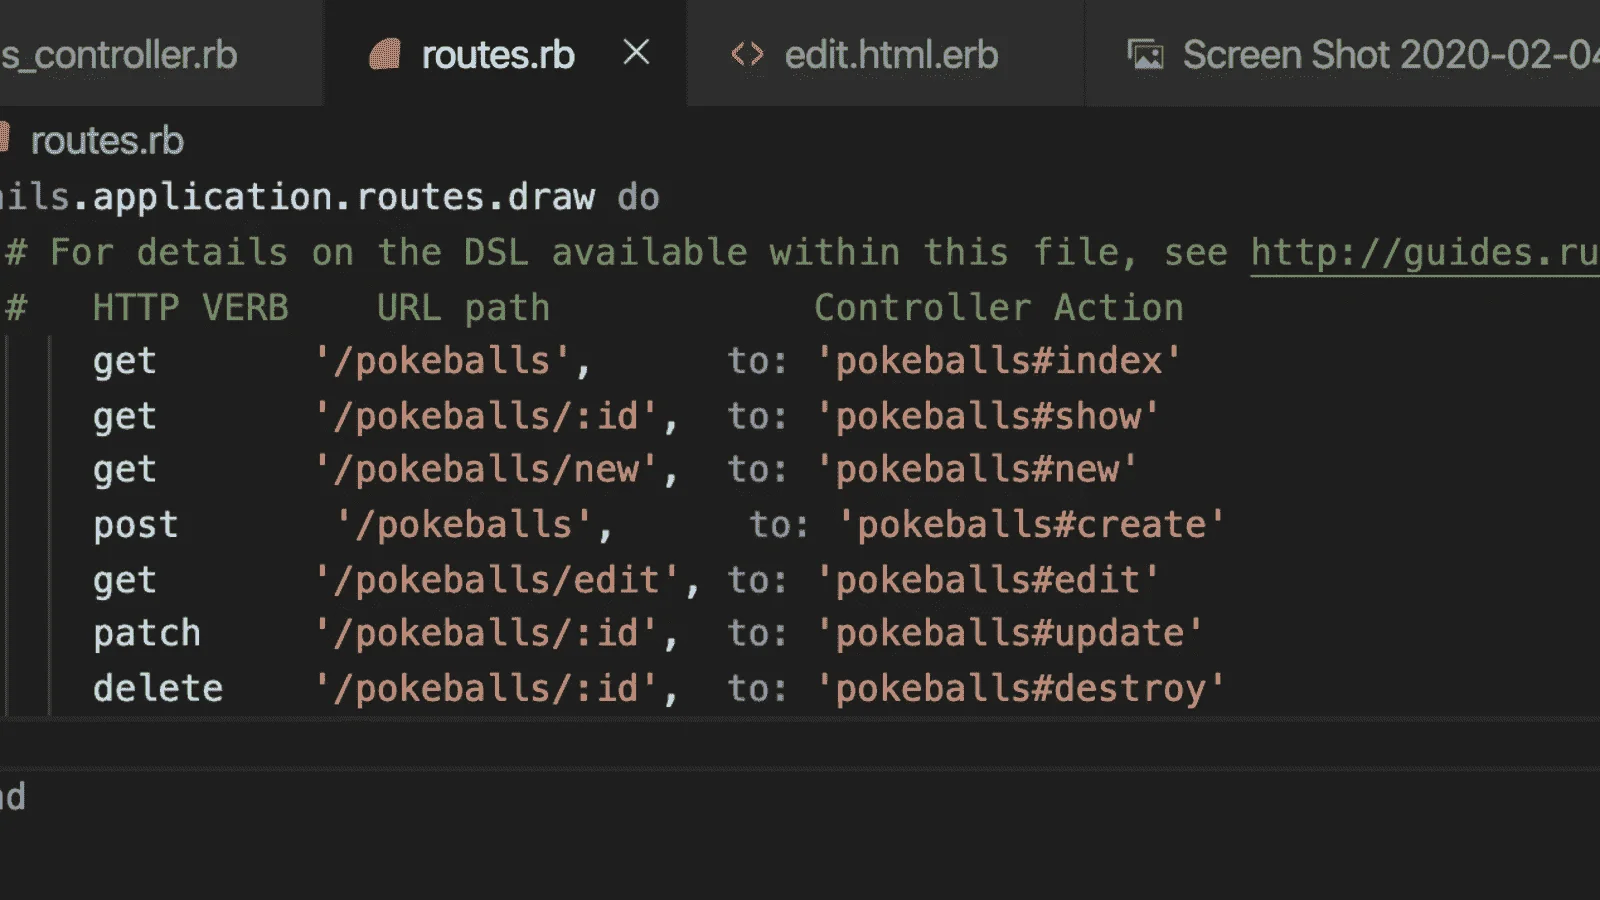
For the time just look at the basic structure of rails routes, as they can vary according to
Your requirements
5. Create Controllers
You get two options if you want to create controllers, first by using the ‘rails generate controller’ command, to generate controllers manually. Second, by running ‘rails generate scaffold’ command, to use scaffolding. Controllers basically act as a link between the incoming request and corresponding action, thus allowing seamless coordination.

The above image shows the full flow of an rails application and also of course the importance controller in the process.
rails generate controller Book
It creates a file called app/controllers/book_controller.rb
If you look at book_controller.rb, you will find it as follows:
class BookController < ApplicationController
end
6. Implement CRUD Operations
CRUD basically stands for Create, Read, Update, and Delete. Implementation of CRUD operations just defines the functionality required to handle the core operations based on the command. For example, ‘create’ will generate a new project, similarly, ‘delete’ command will remove the resource from the database.
If you think all this is getting too much, you can always get in touch with a Ruby on Rails development company to make it easy.
Now lets see how actually we implement these CRUD operation in our application with the help of controller, the below is the same Book controller we saw in the previous example during learning about controller
class BookController < ApplicationController
def list /To list all the records present end
def show /To show a specific record present end
def create /To create a new record end
def edit /To edit a record end
def update /To update an already existing record end
def delete /To delete a record end end
7. Implement Authentication & Authorization
Another step is to implement authorization and authentication. This step is important for many reasons, including security, user management, access control, data protection, usage restrictions, audit trails & accountability, and integration with third-party services. Gems like Devise, JWT, or OAuth can be used for authentication.
- Authentication is the process of verifying who you are.
- Authorization is the process of verifying that you have access to resources.
For more better understanding here is the flow of JWT that how it managed the authentication process of user:
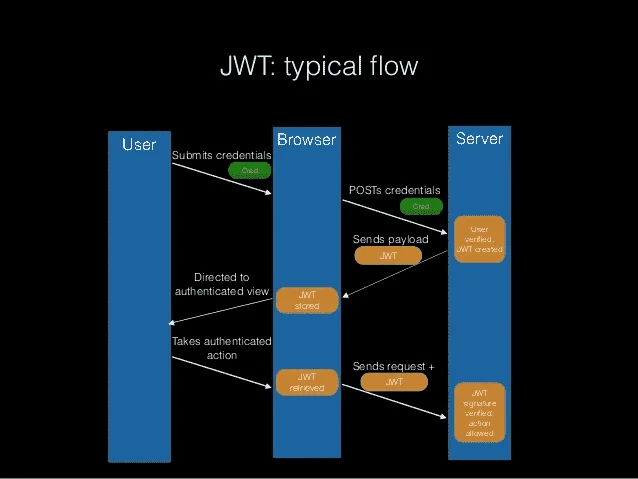
8. Implement Authentication for API endpoints
Implementing authentication for API endpoints in RoR when creating RESTful APIs ensures secure access to your API, protects sensitive data, enables access control, and facilitates user-specific actions. It provides a foundation for maintaining the security and integrity of your API's interactions with users and other systems.
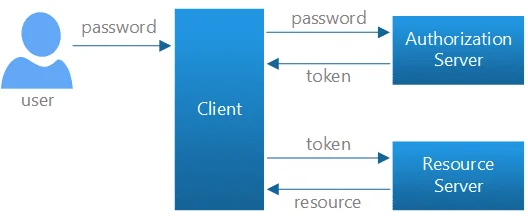
A token is a key you as a user use to access the information to which you are authorized to, by this way only the right person with the privileges is allowed to manipulate data.
9. Test & Document your API
Once you are done implementing authentication for API endpoints, the next step would be to test & document the API. Testing and documenting your API in RoR is crucial steps for ensuring quality, promoting adoption, facilitating integration, and maintaining a robust and reliable API ecosystem. These practices lead to improved developer experience, better API usability, and long-term success for your API.
API documents are similar to a reference manual. It talks about the necessary information of an API, in terms of,
- Description of Resources
- Methods and their endpoints
- Parameters used
- Examples of Requests and Responses
10. Deploy & Monitor
Yes, you’ve made it to the end of the list. The last step is to deploy and monitor your API. This ensures accessibility, performance, reliability, and security.
It helps you maintain a healthy and efficient API infrastructure, allowing you to proactively address the issues, optimize resources and continuously improve your API based on real-time insights and user feedback.
Once you are done implementing authentication for API endpoints, the next step would be to test & document the API. Testing and documenting your API in RoR crucial steps for ensuring quality, promoting adoption, facilitating integration, and maintaining a robust and reliable API ecosystem.
These practices lead to improved developer experience, better API usability, and long-term success for your APIs.
Best practices and tools for documenting APIs
Let’s say you built something super useful and people don’t know how to get started with it. It all seems to go to waste, right? Well, that’s where documenting APIs comes into play.
It has become vital to offer clear and thorough documentation due to the complexity of APIs and the variety of technologies used to create them, which makes it easier for new users to use and comprehend them
API documentation serves as a reference manual for a newly built API, it tells you what all things are possible with your machine and also tries to answer any question in the way, such as the authentication methods, available endpoints, expected responses, required parameters, and possible errors.
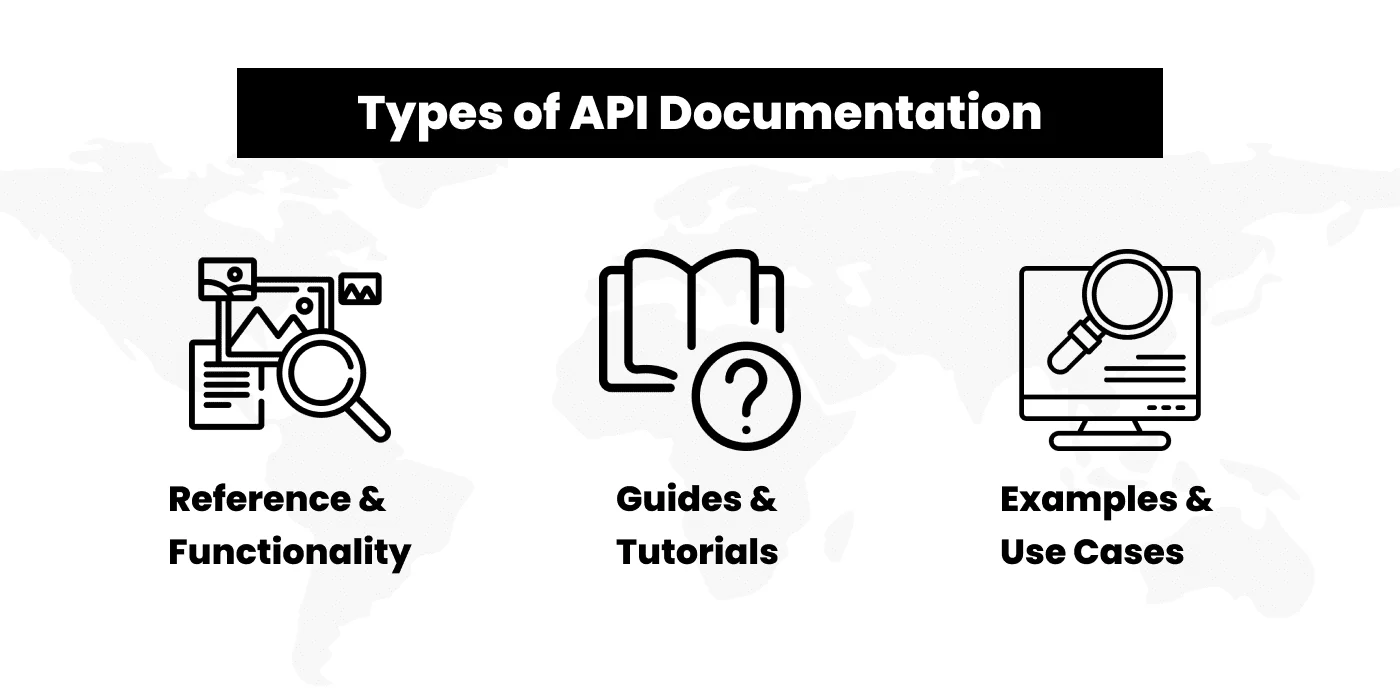
There are basically three types of API documentation
- Reference & Functionality
- Guides & Tutorials
- Examples & Use Cases
Here are some best practices for maintainable, comprehensive API documentation
1. Use a consistent and clear structure for API documentation.
2. Include detailed explanations of endpoints, parameters, and responses.
3. Provide examples and code snippets to illustrate API usage.
4. Include information about authentication and authorization requirements.
5. Keep the documentation up-to-date with any changes or updates to the API.
Best Tools for API Documentation
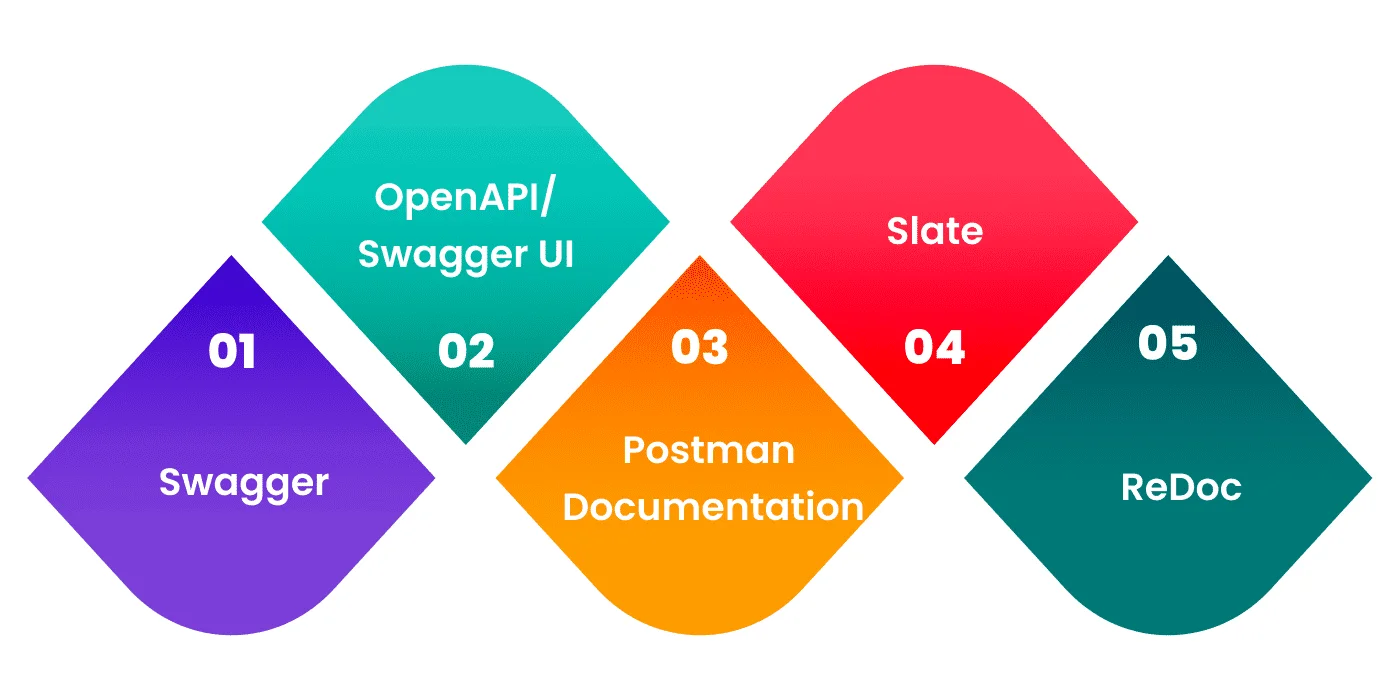
1. Swagger: A popular tool for designing, building, and documenting APIs.
2. OpenAPI/Swagger UI: A specification and interactive documentation tool for RESTful APIs.
3. Postman Documentation: Postman offers built-in tools for generating API documentation.
Slate: A customizable static site generator for creating beautiful API documentation.
ReDoc: An open-source tool for generating interactive and responsive API documentation.
These are some of the best practices and tools used for API documentation. There are a lot of frameworks available on the internet but the advantages of using Ruby on Rails for API building just simplify the whole process.
Frequently Asked Questions
Conclusion
We have jotted down 10 basic steps for building RESTful APIs in Ruby on Rails in the above-mentioned blog. The advantage of creating these APIs in RoR over any other framework cuts your work in half, owing to its ease of use and elegance. Developers can leverage the power of RoR and build secure and well-designed RESTful APIs that can deliver seamless experiences for clients and users. However, it's not an easy task that anyone can pull up but requires a lot of experience and skill set to achieve the desired results. That’s why we recommend you to hire a Ruby on Rails developer for your needs. Protonshub Technologies is one of the prominent organizations leading in the field of RoR development and any other development requirements. So just relax, and leave all your technical requirements to the pros.
Newsletter
Subscribe to Weekly - Get five biggest headlines in blockchain straight to your inbox
Trending Blog
Jul 03, 2024
How Blockchain Technology Can Revolutionize the Fintech Industry
Feb 16, 2024
AI in E-commerce: 8 Ways It’s Transforming the Business
Feb 13, 2024
Top Emerging Web Design Trends for 2024 and Beyond [Updated]